Veertuのインポート機能を利用して、Parallels Desktop 11 for MacのWindows 10をVeertuへ移行してみました。詳細は以下から。
本日アップデートされたVeertu v1.0.5では新たに他社の仮想イメージをVeertuの仮想イメージへ変換することが可能になったので、早速試してみました。
New update in App Store- VM import and more https://t.co/NOekKi2Fxe import Fusion/Parallels/VBOX VMs to your Veertu https://t.co/O6AFRGC3Qc

A new update to Veertu is now available in the App store. The key new addition in this update, is the ability to import existing VM images from other tools, like Fusion/Parallels/VBox. VM export is also supported. This feature is available as part of full paid download. We also added a Kali Linux VM image to the cloud image library.
インポート
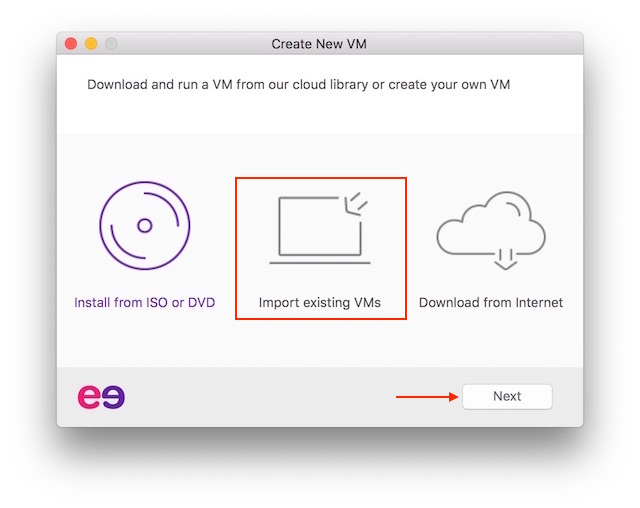
インポート機能は新規VM作成ウィンドウにある[Create New VM]から、[Import existing VMs]を選択し[Next]へ。
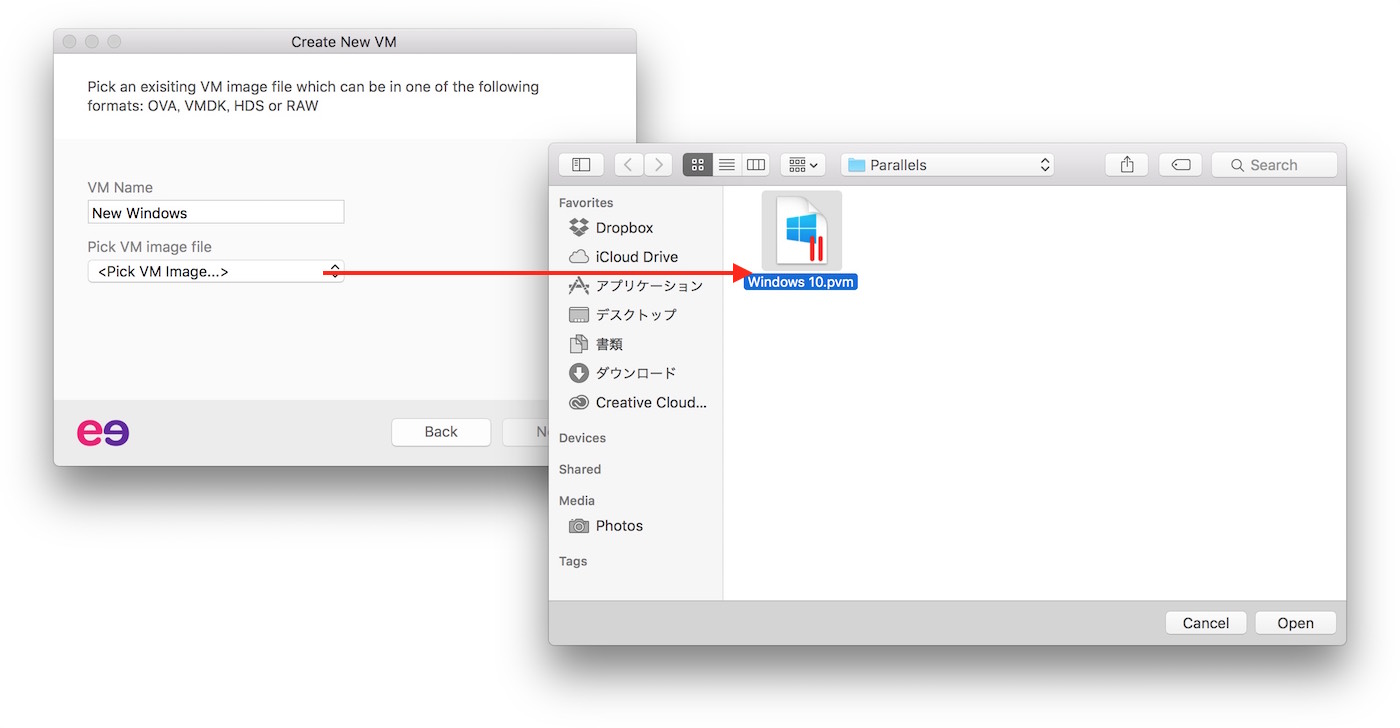
次にインポートするVMの名前を決め、[Pick VM image file]から既存のVMイメージファイルを選択します。今回はParallels Desktop 11 for Macで作成したWindows 10のイメージファイルをインポートしています。
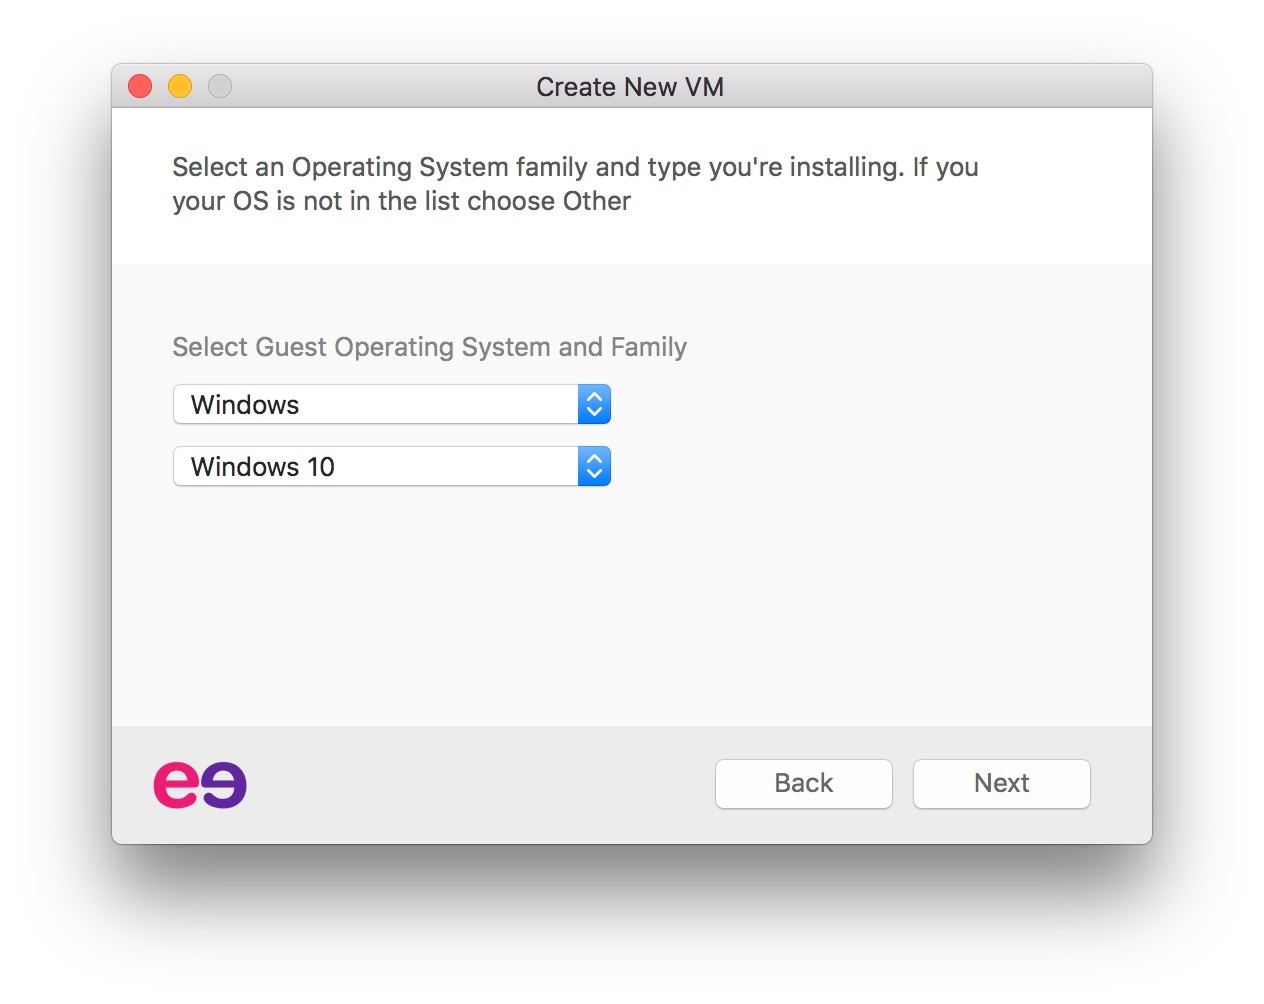
後はVeertuがVMイメージを見て、自動でゲストOSに最適な仮想マシンを選択してくれるのでそれに従いますが、必要な場合はここで仮想マシンのH/W仕様を変更することも可能です。
設定は以上で、VMイメージのインポート処理には多少時間[*1]がかかりますが、以下の様にParallels Desktop 11 for Macで作成したWindows 10も簡単に移行できました。
*1:動画は途中2倍速にしてあります
インポート機能を利用するには内課金(4,800円)が必要で、分割vmdkなどにはまだ対応していませんが、Veertu v1.0.5ではVMの保存場所の変更やHDPI, Ubuntuなど13のディストリビューションの無料インストールに対応しているので、他の仮想マシン構築アプリからの乗換を検討している方は試してみてください。
Veertu 無料
[appbox appstore id1024069033]
関連リンク

コメント