
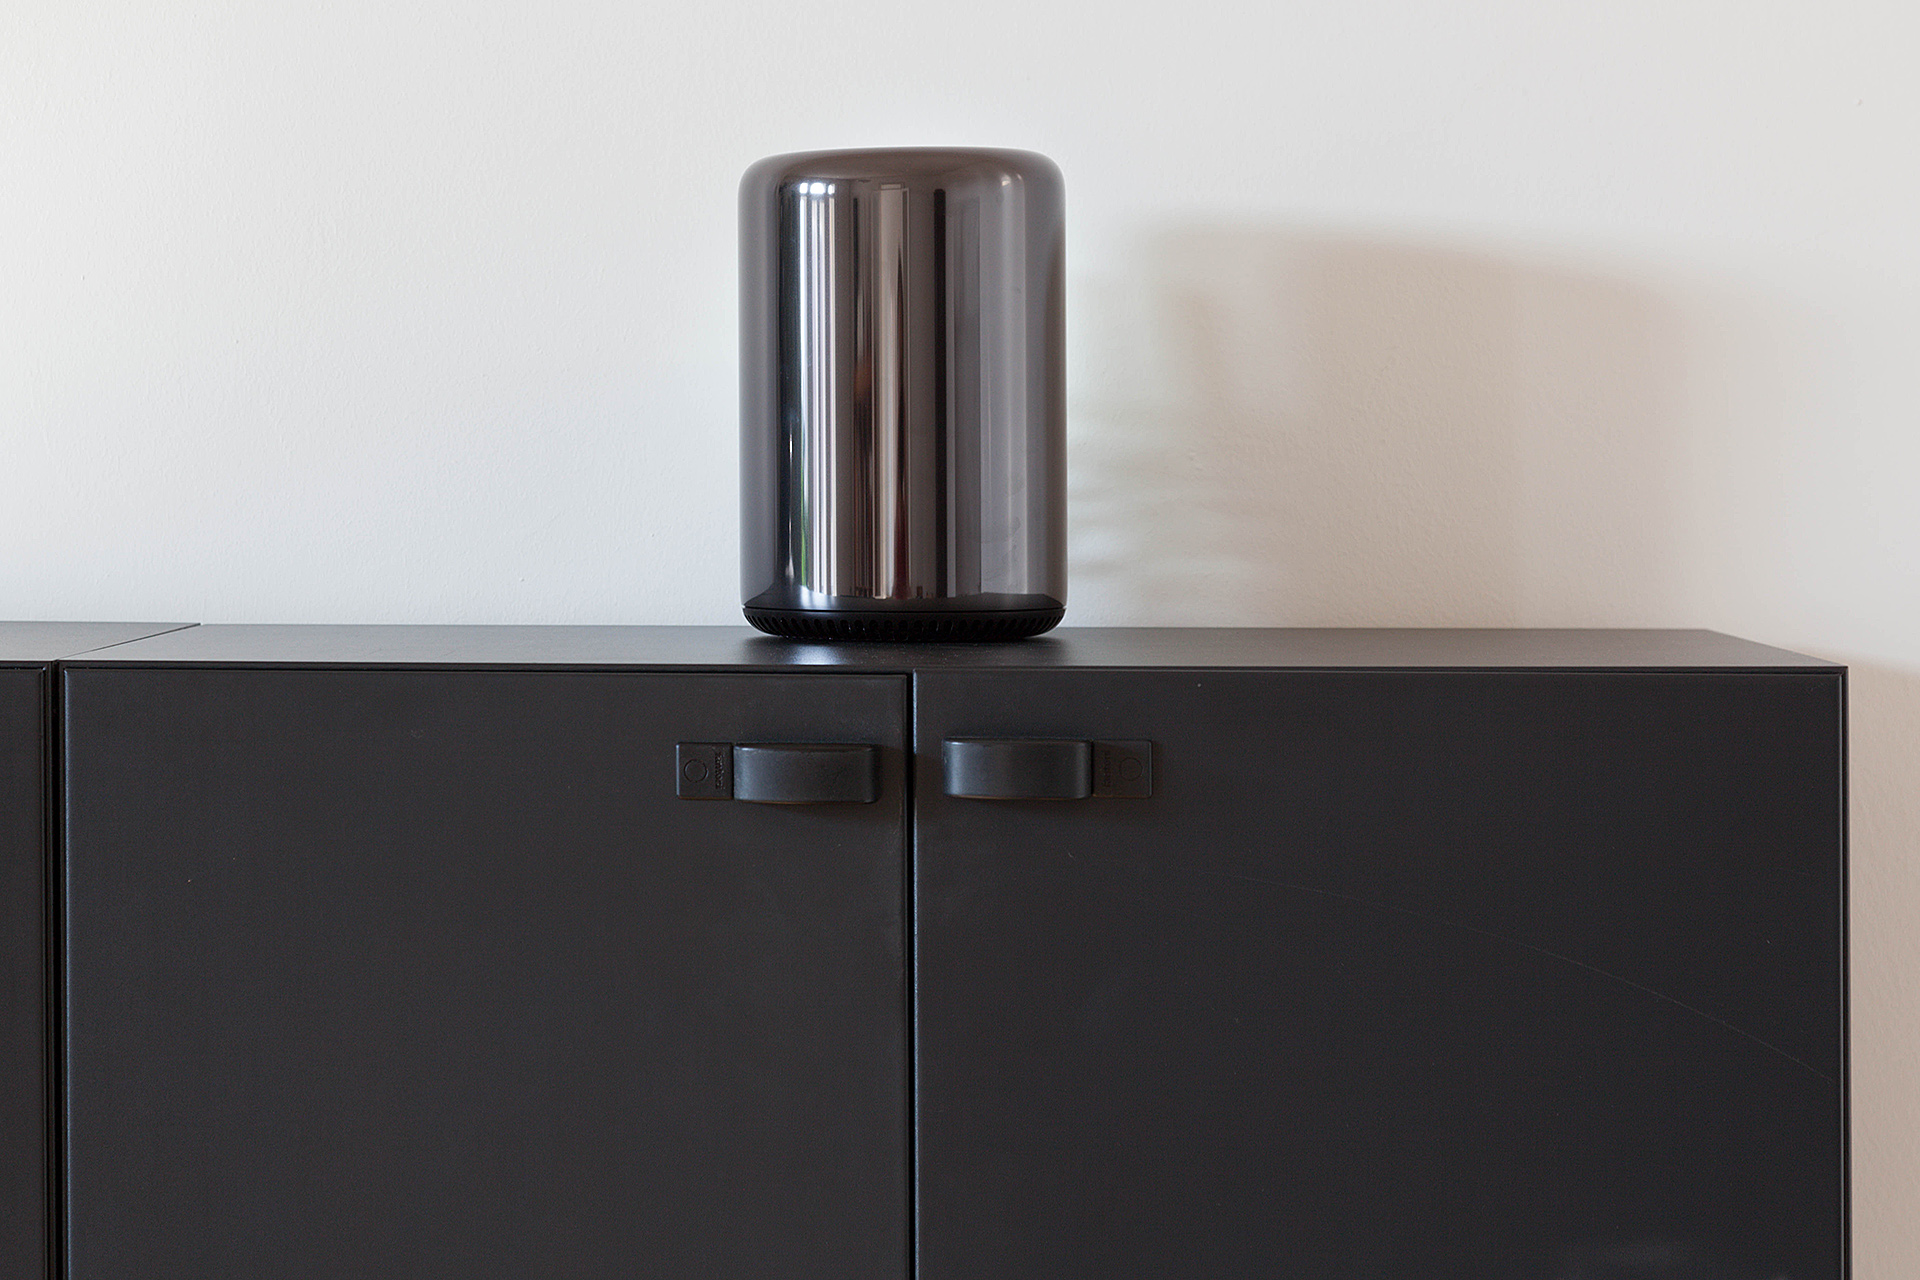
旧筐体のMacProに比べて体積が実に8分の1程度になったMacPro Late2013ですが、そんなMacPro Late2013を「どの様にセットアップ(配置)したか?」っという話題が上がっている。詳細は以下から。
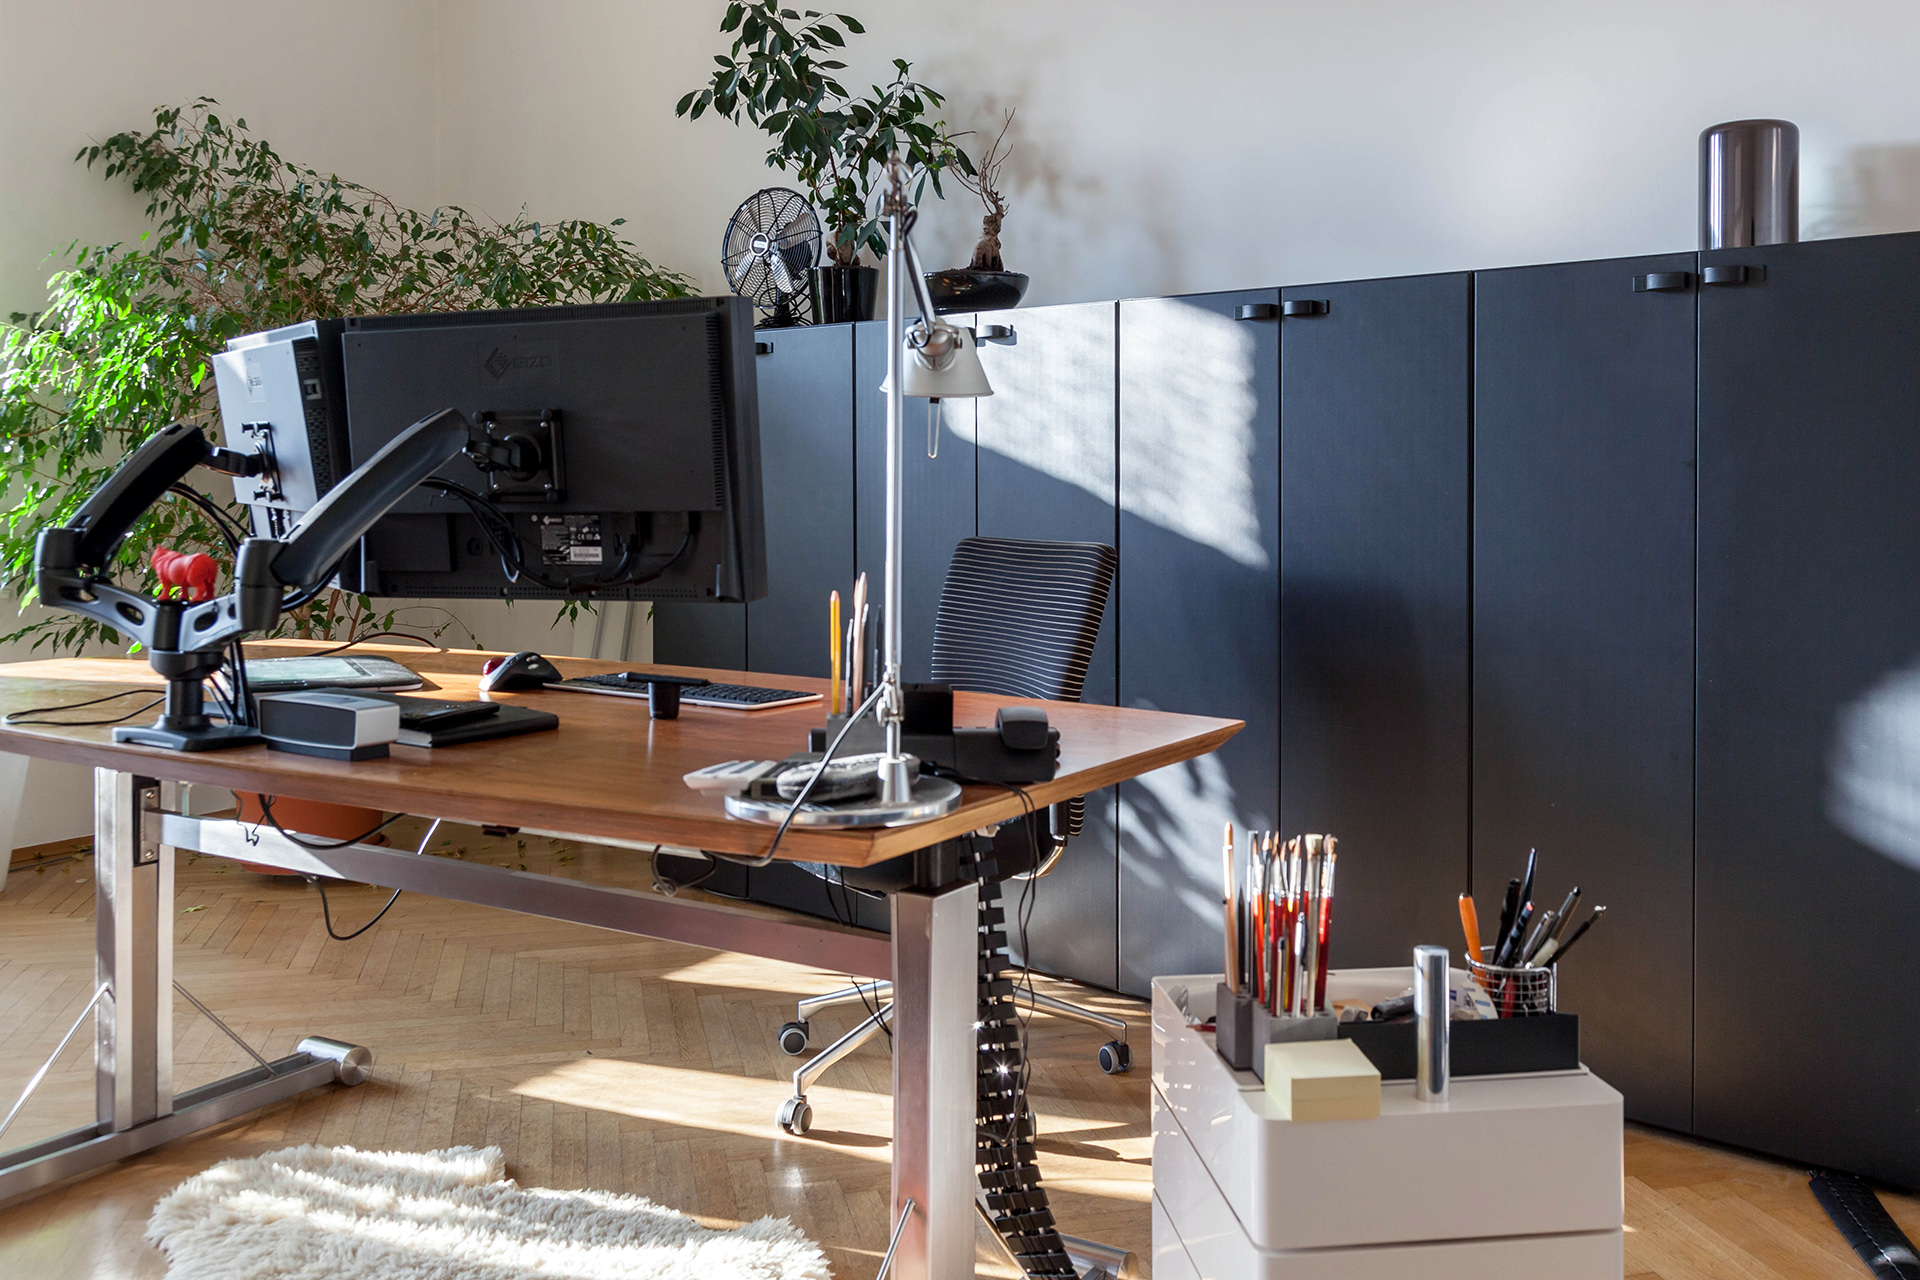
MacPro Late2013では内蔵HDDや光学ドライブなどが全て省かれたため、今まで置けなかったような場所(ディスプレイの後ろや戸棚の中)にも設置できるようになりユーザーはセットアップ(コーディネート)を楽しんでいるようです。
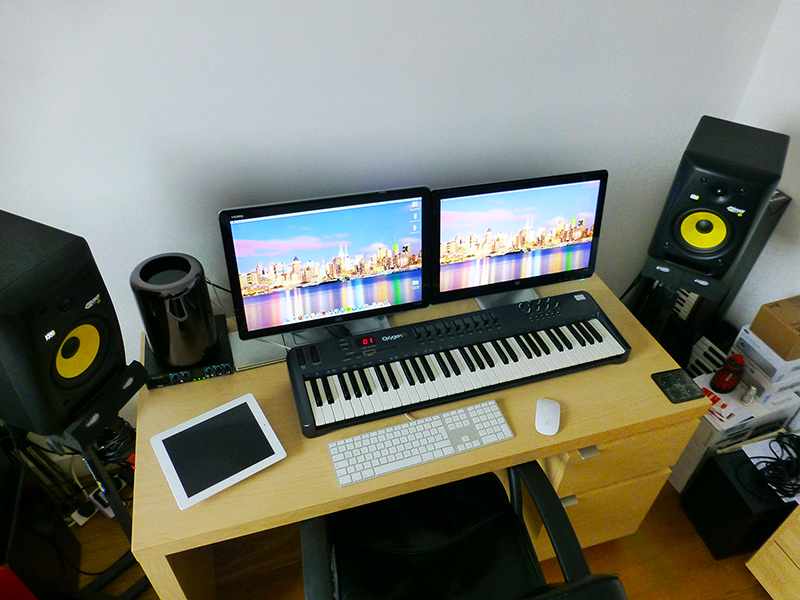
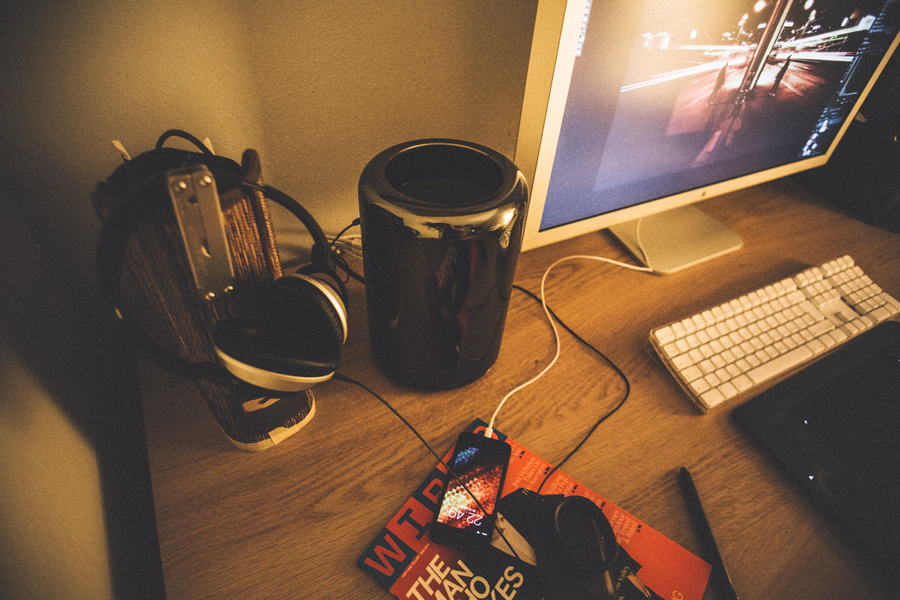
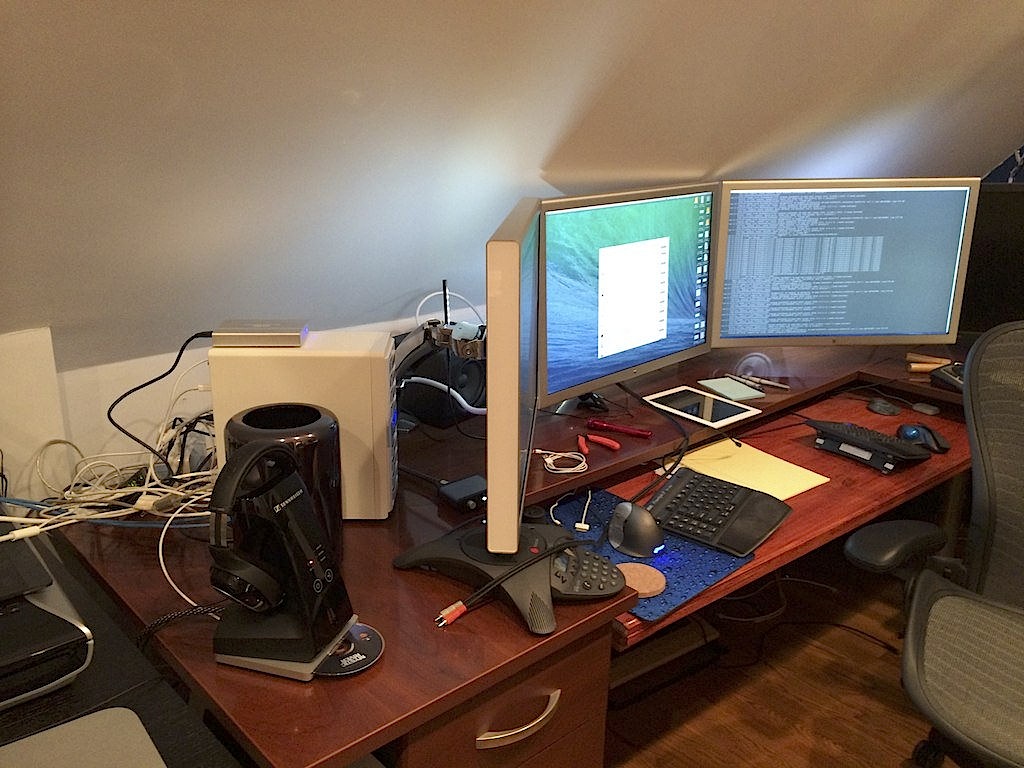
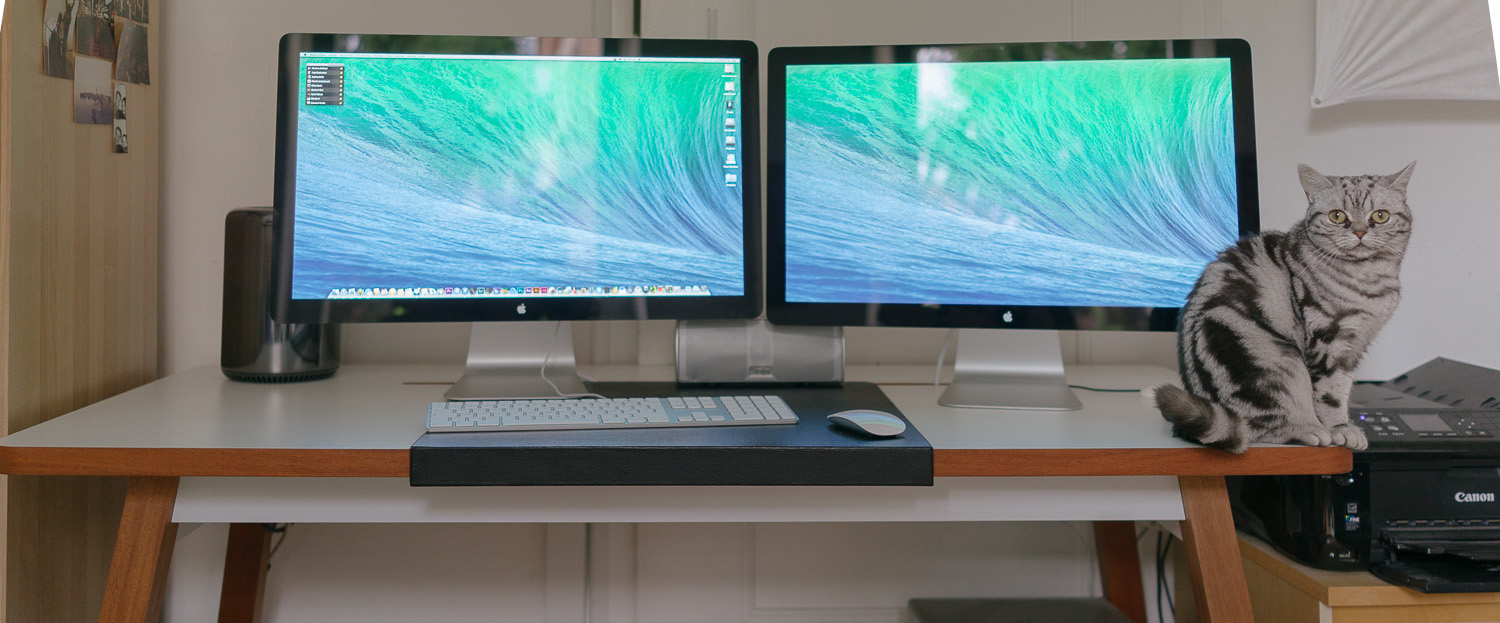
ディスプレイ横
オーソドックスにディスプレイ横に配置。
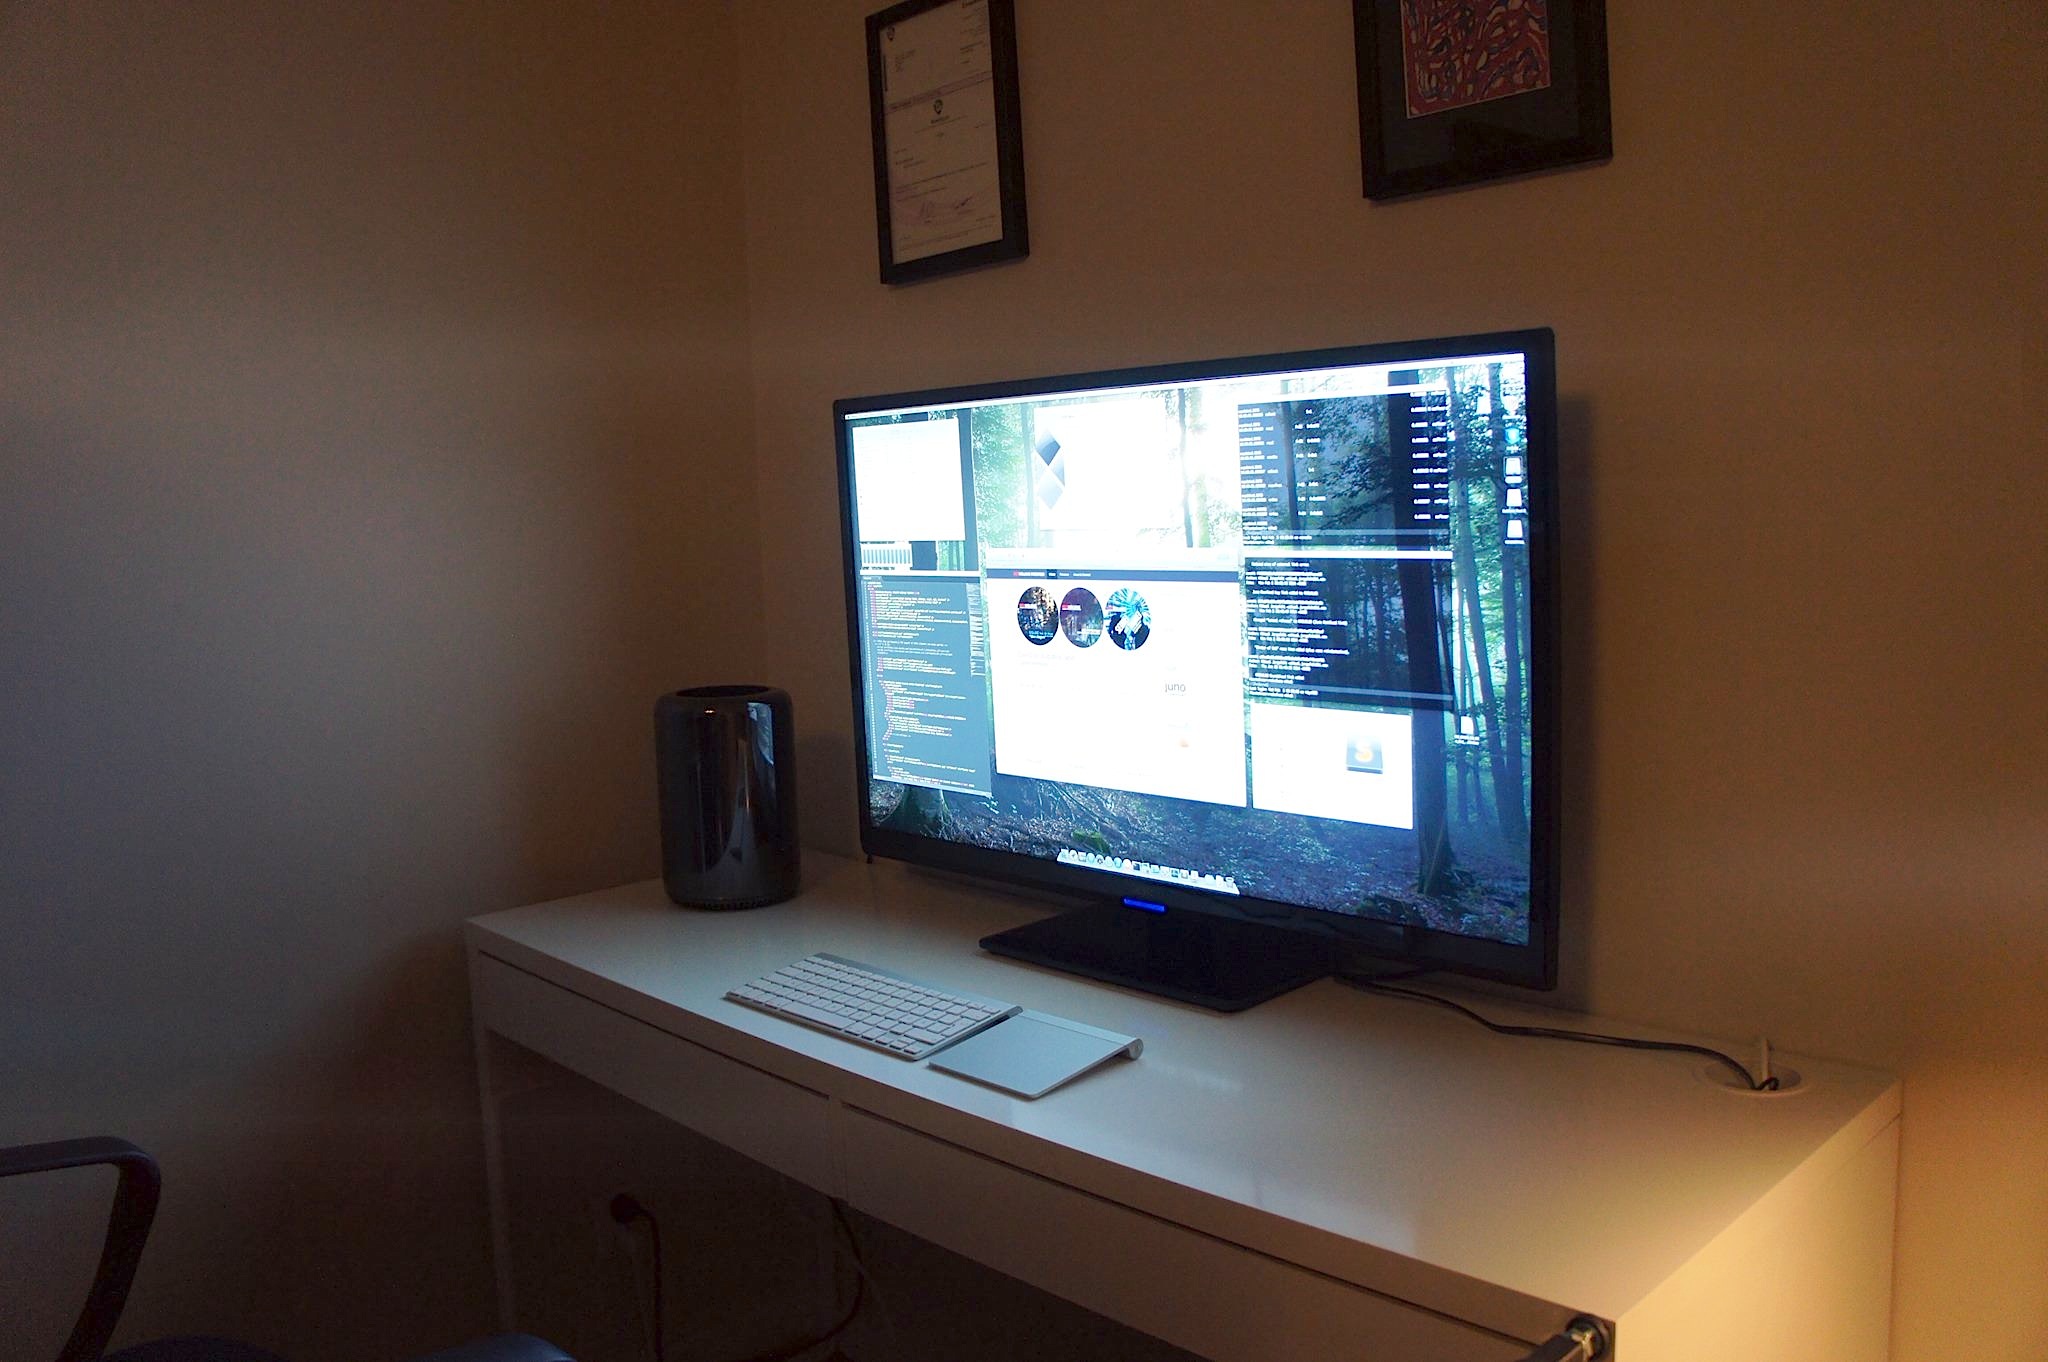

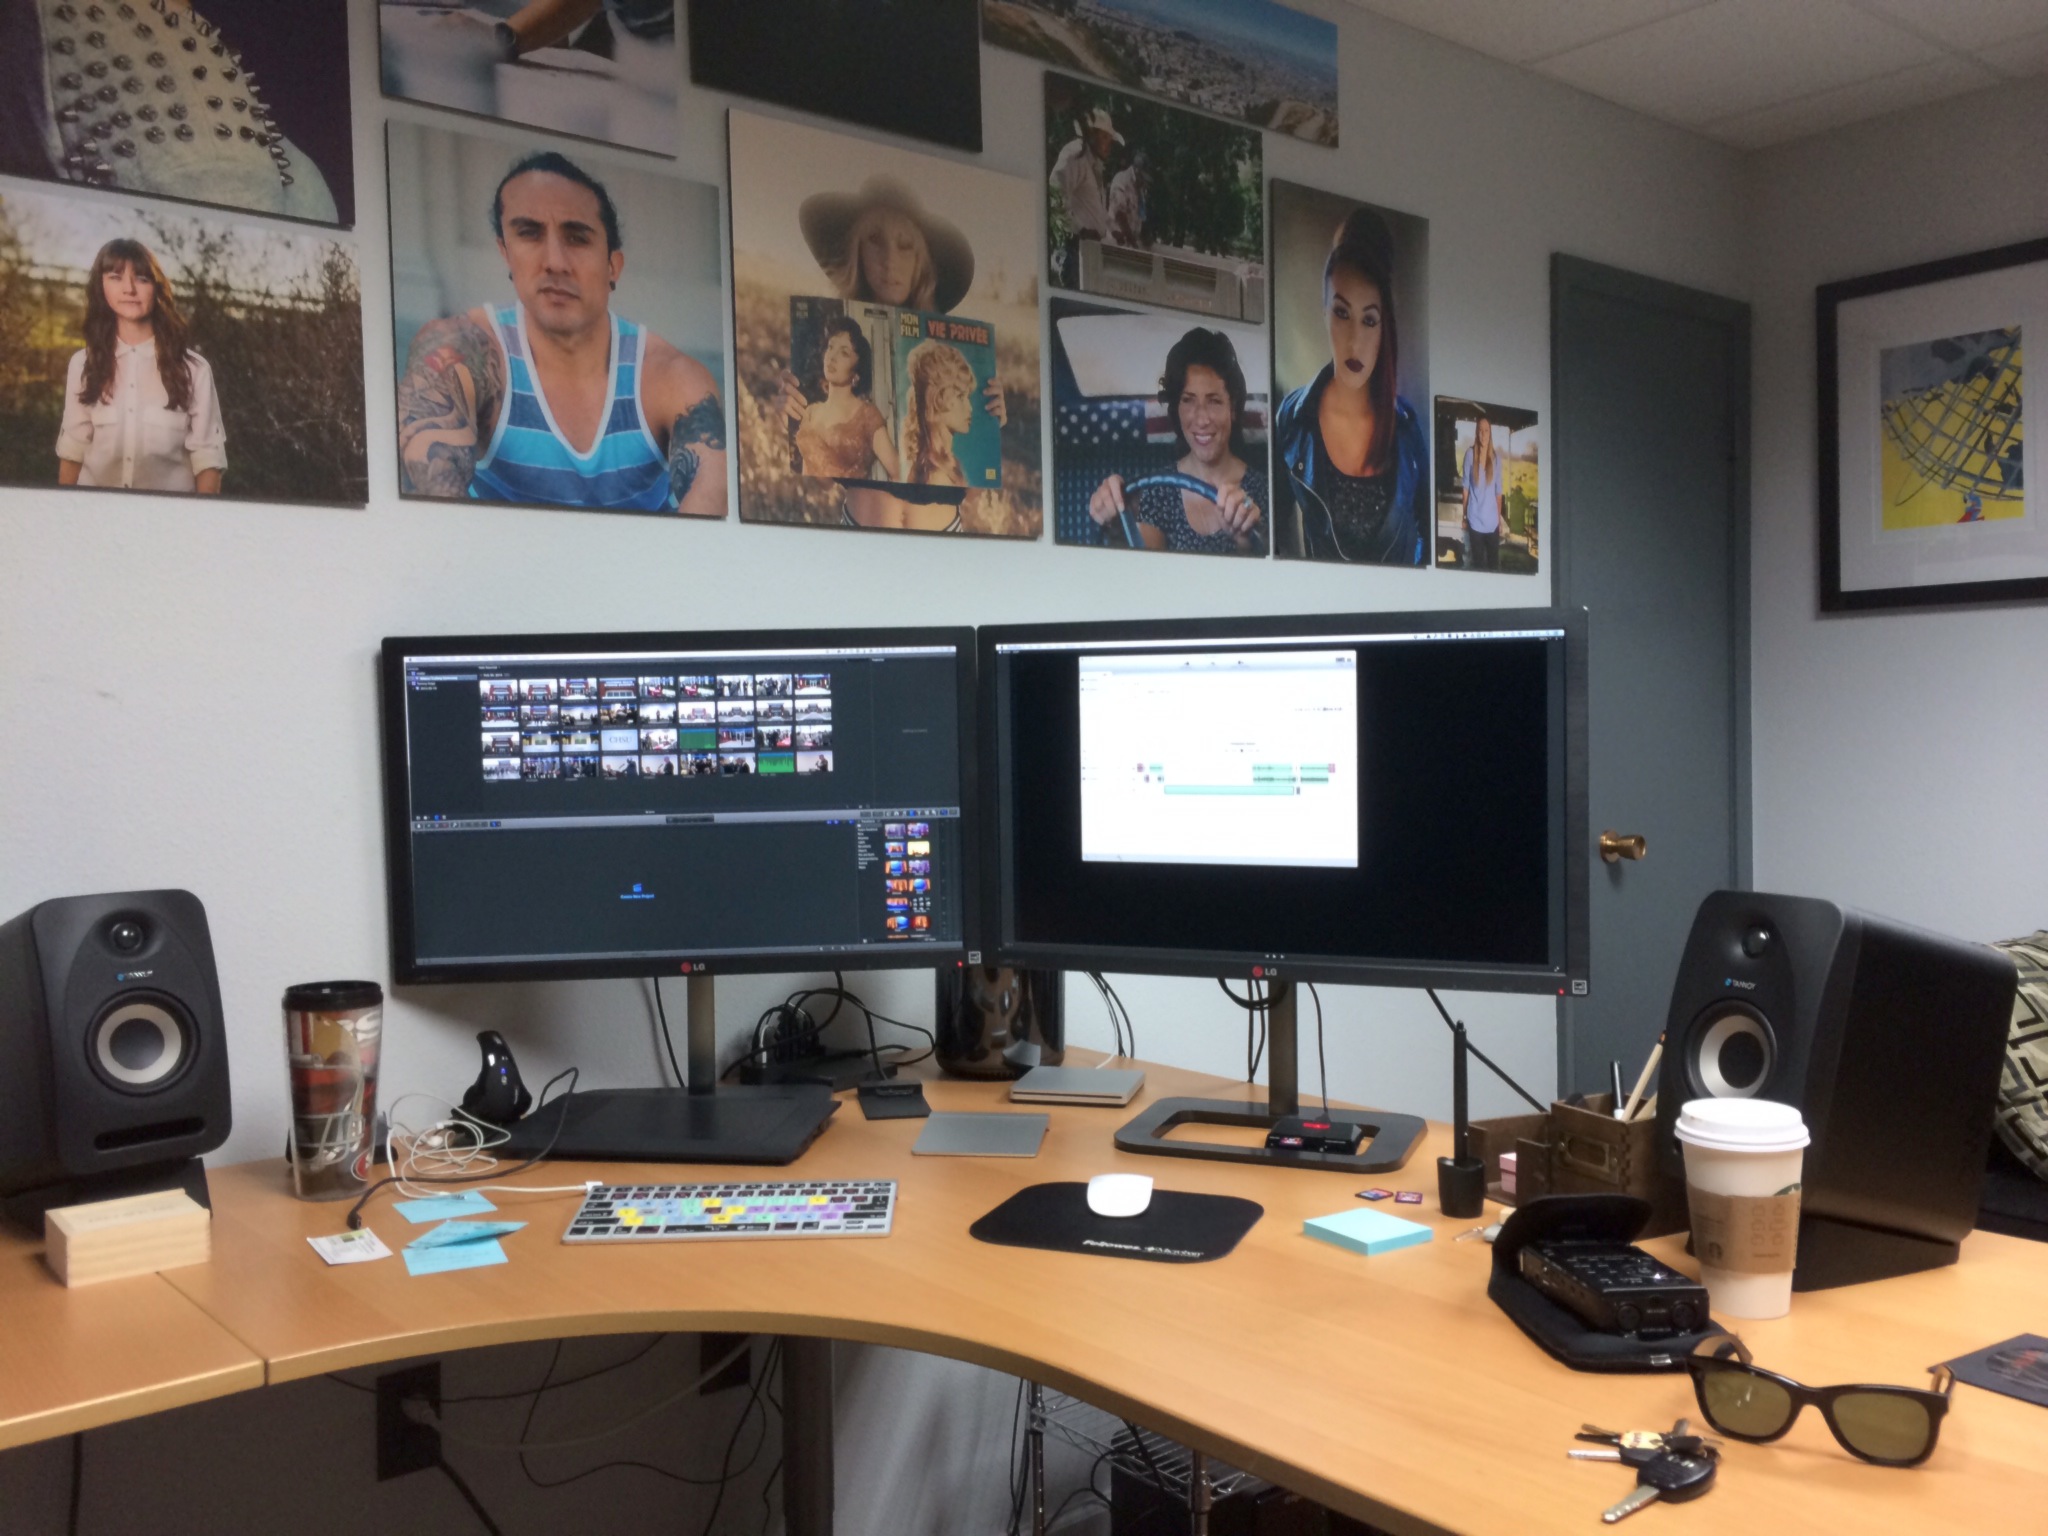
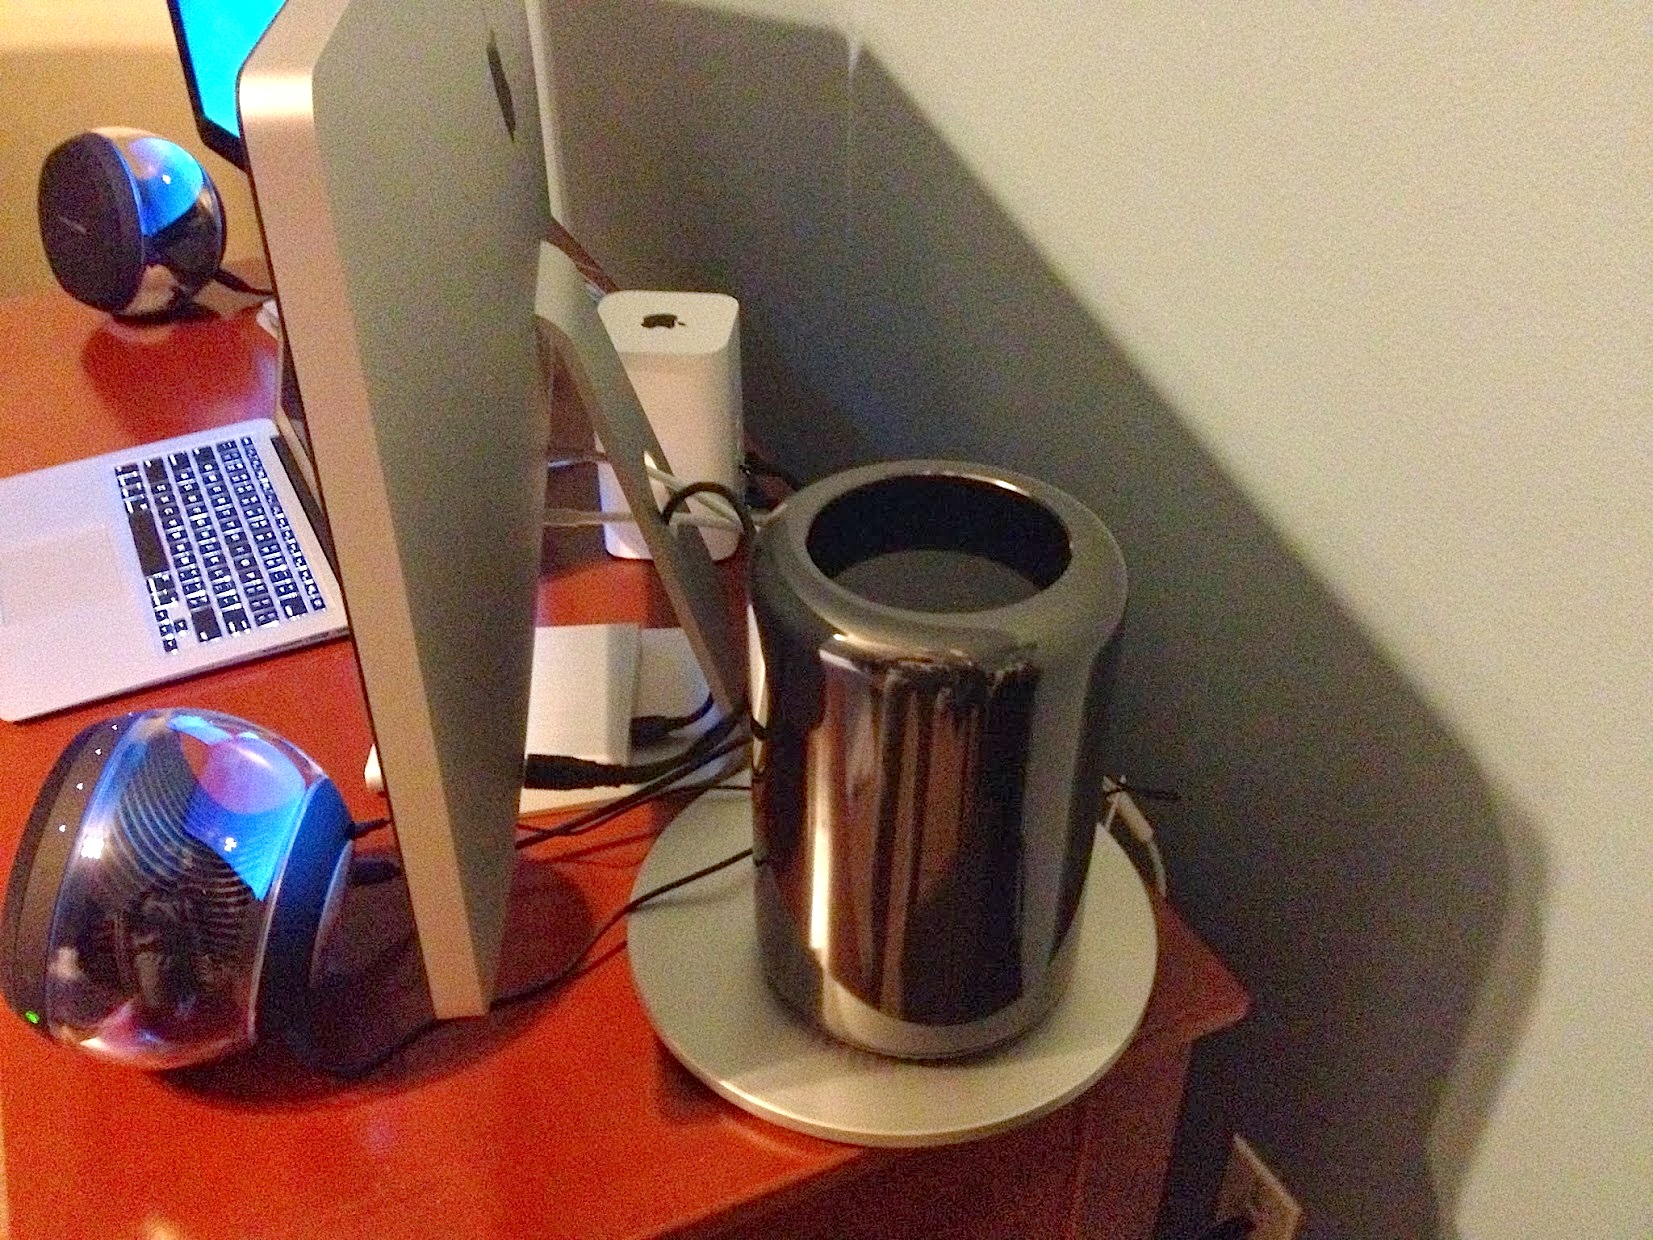
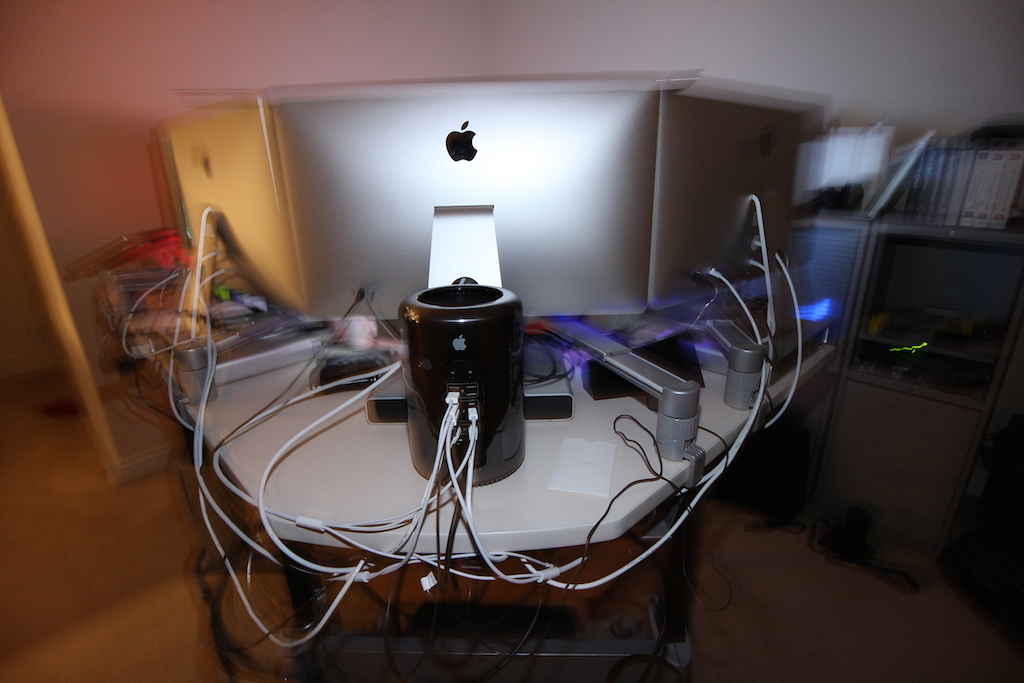
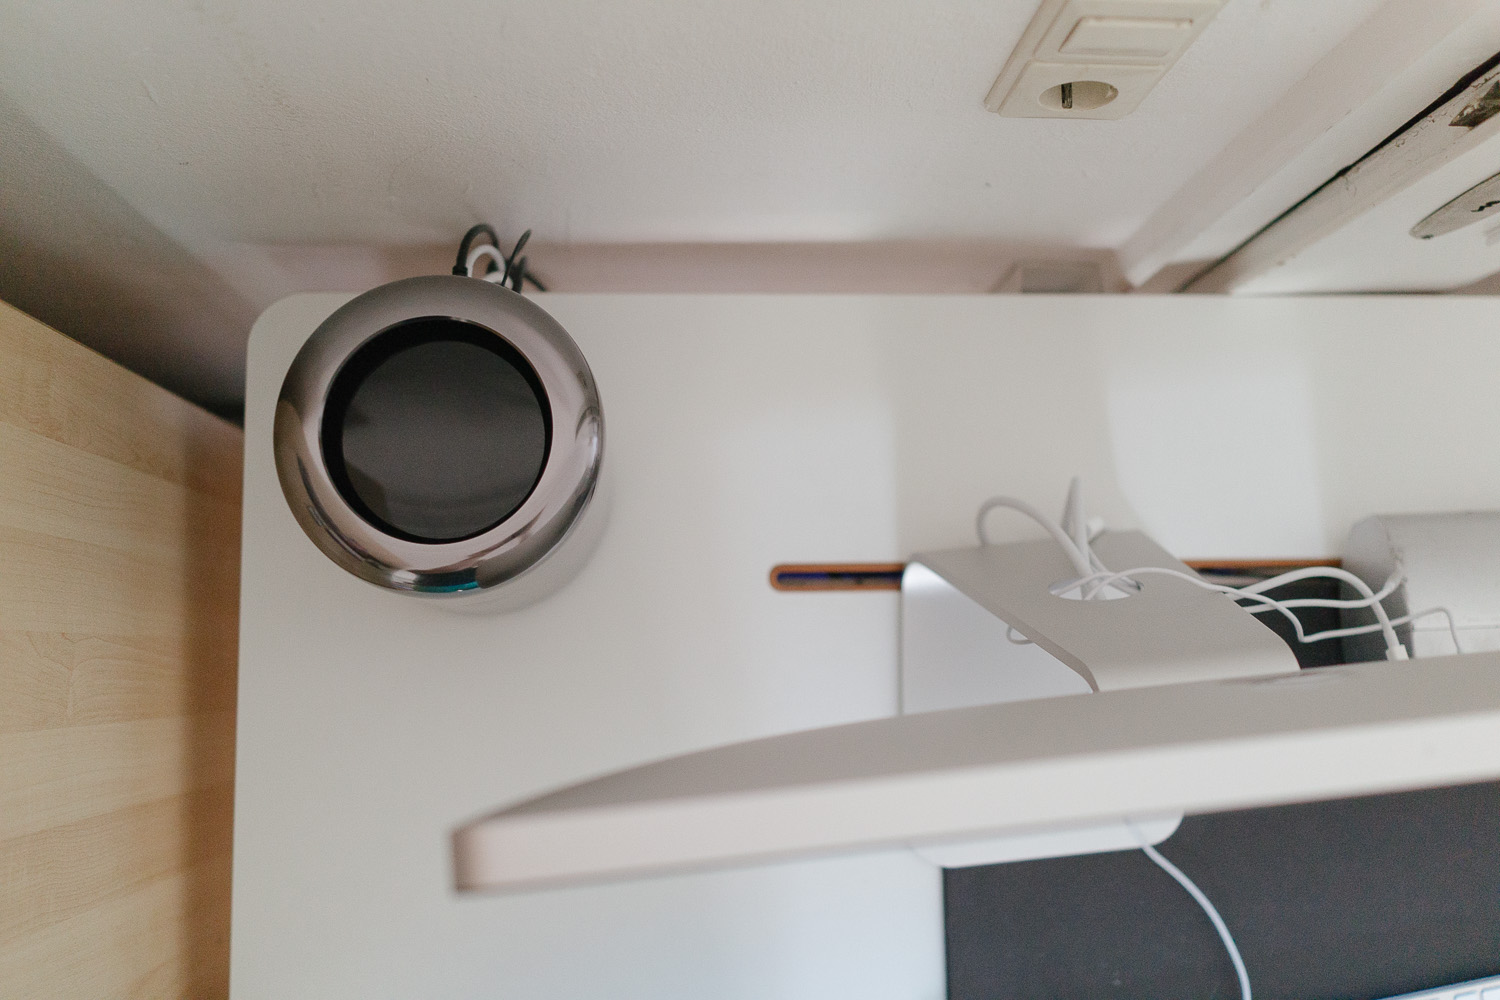
ディスプレイの後ろ
ディスプレイ後ろに設置。
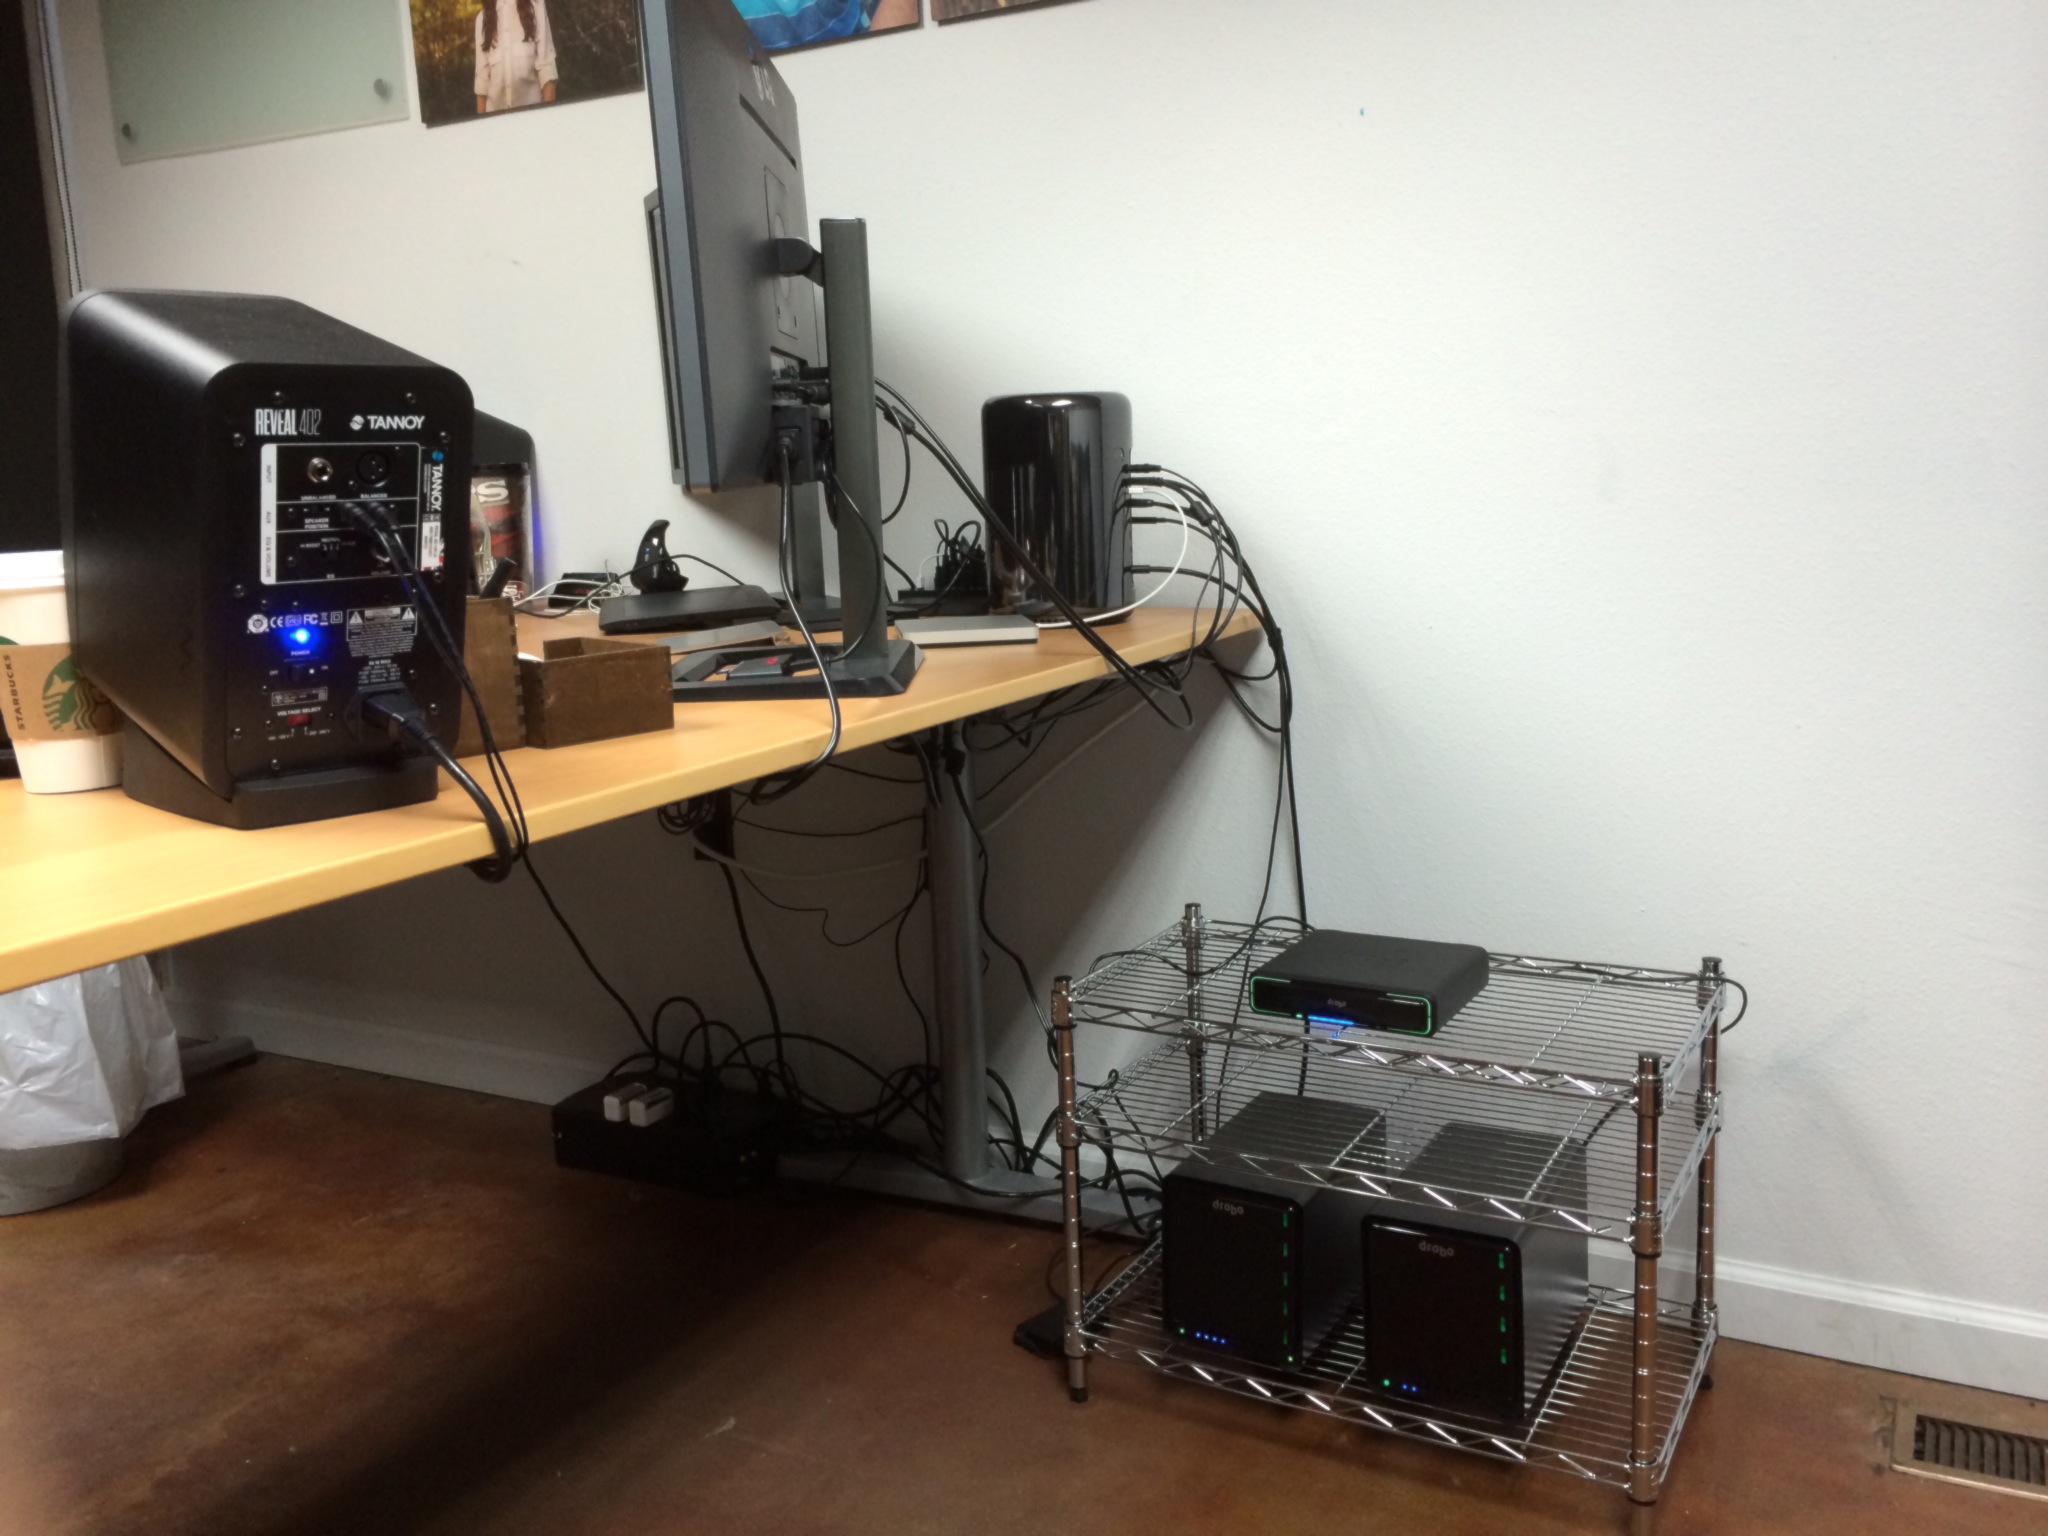
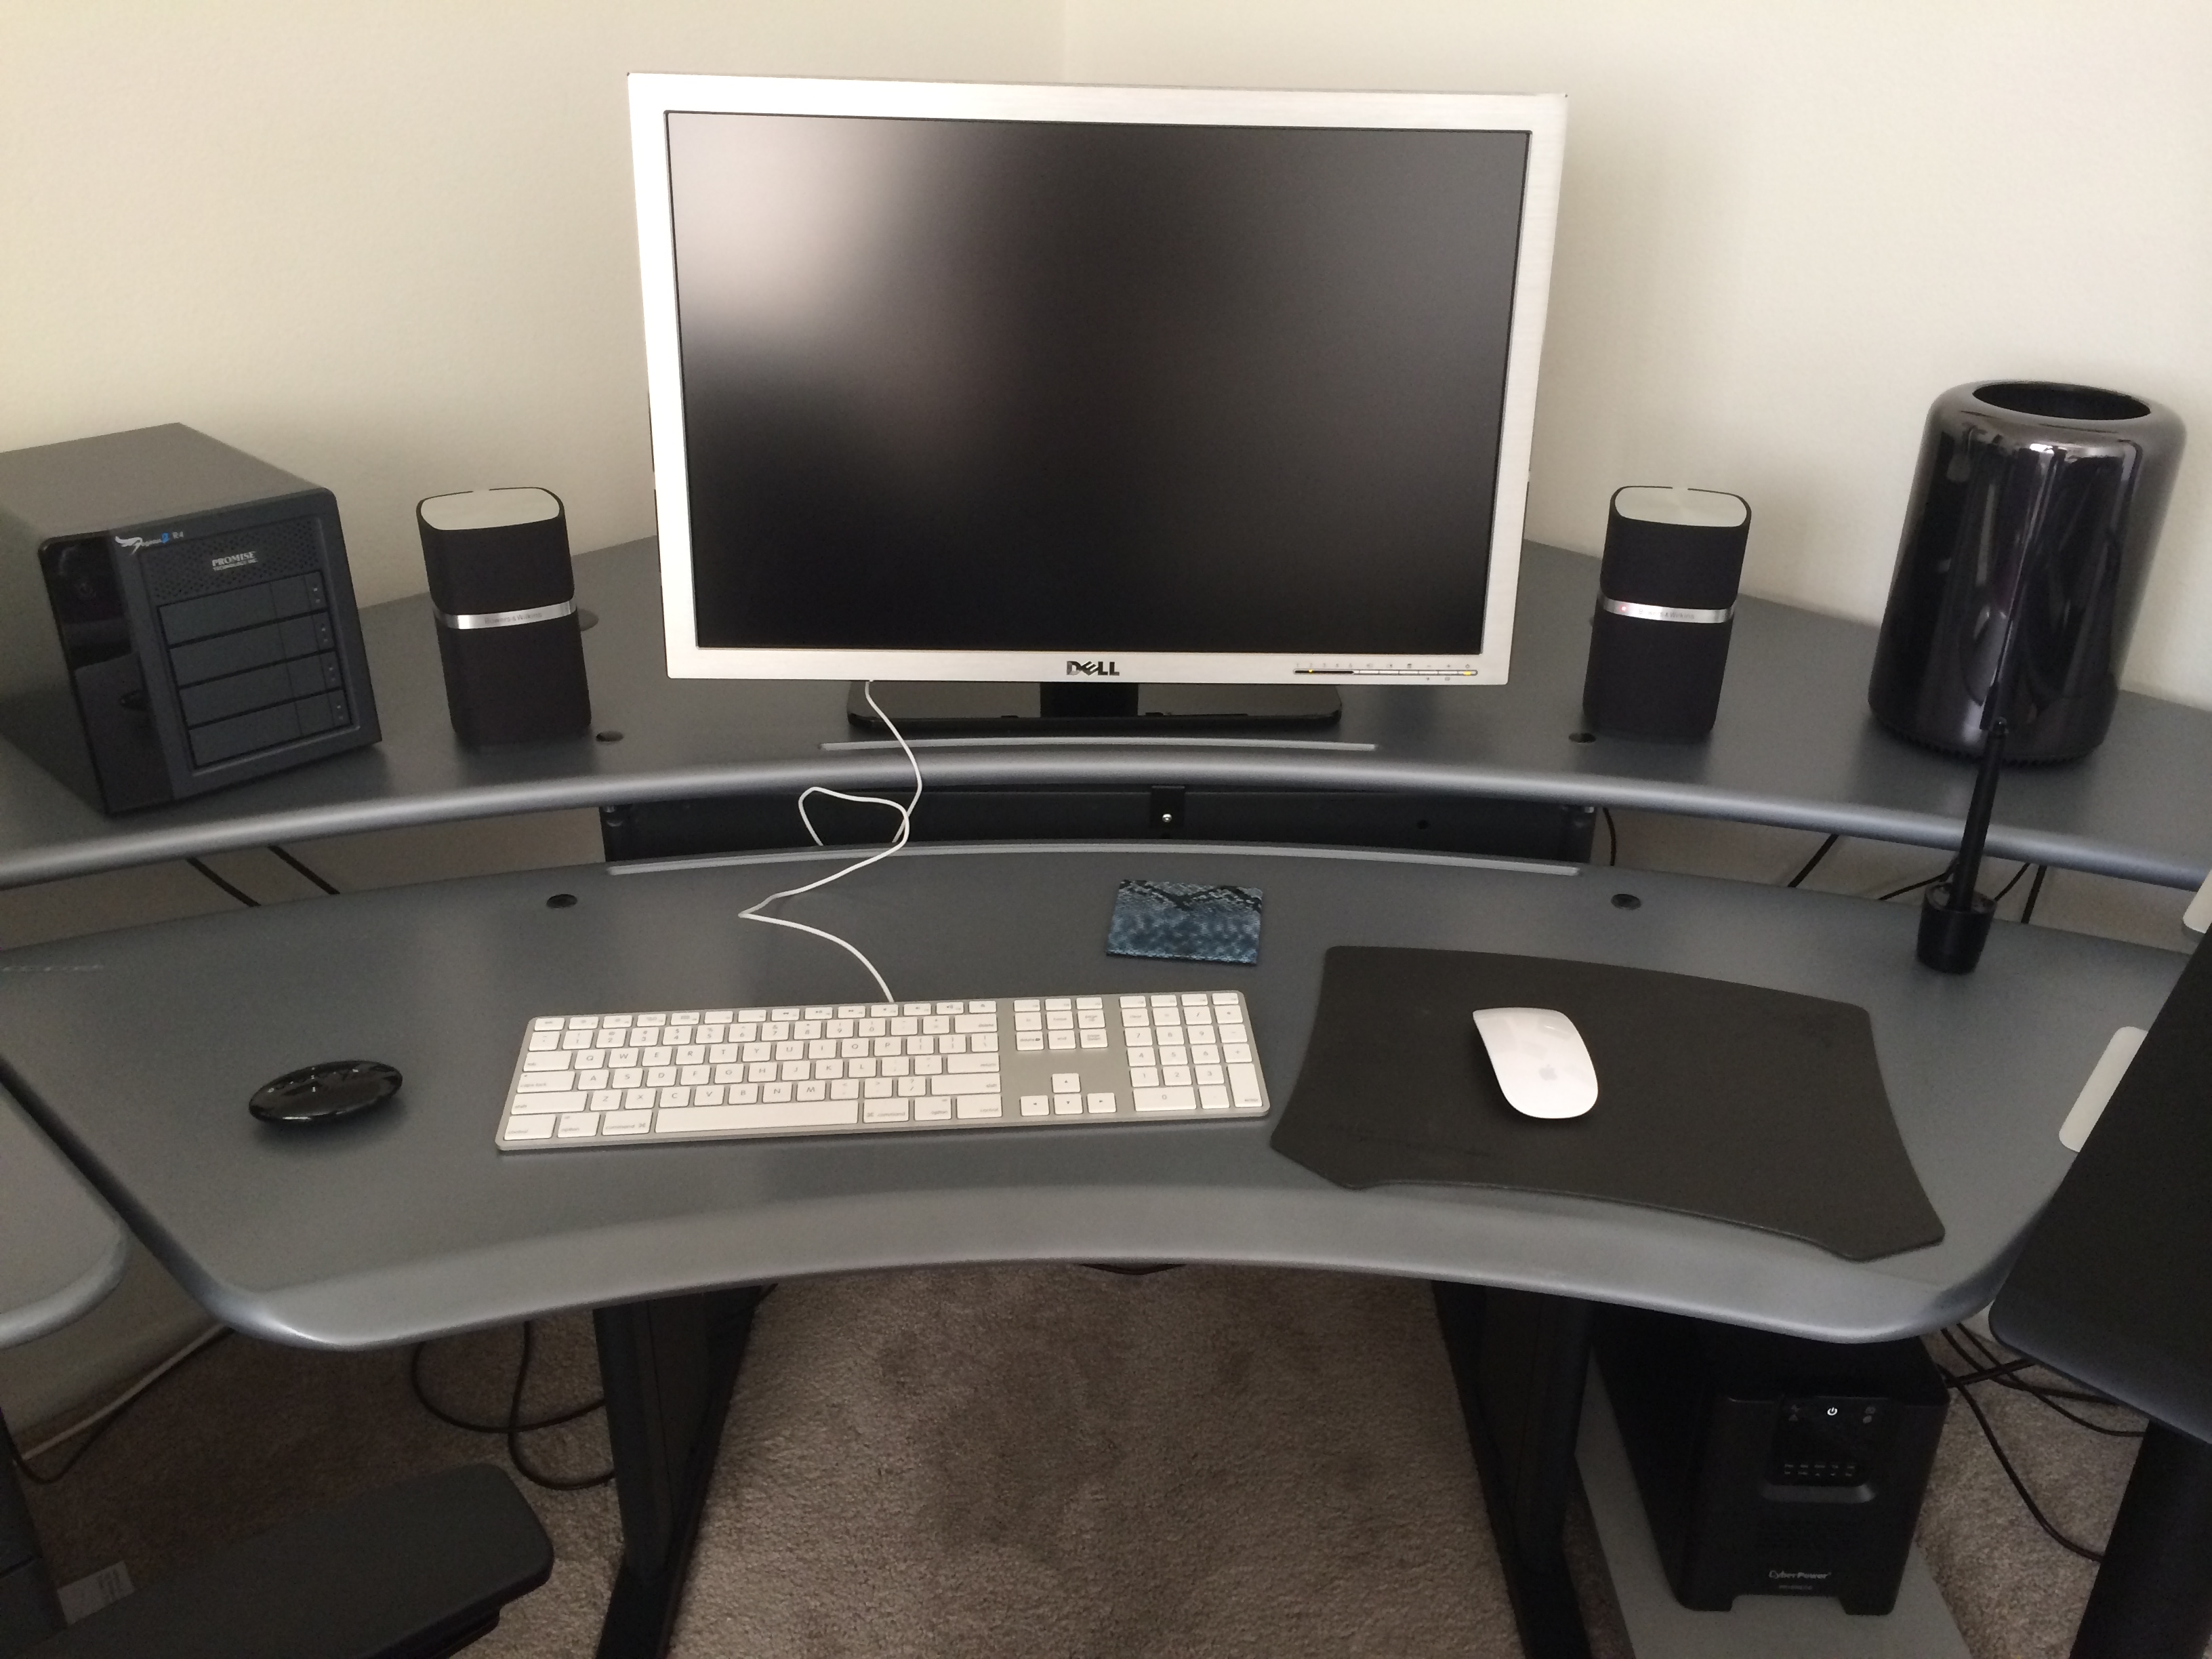
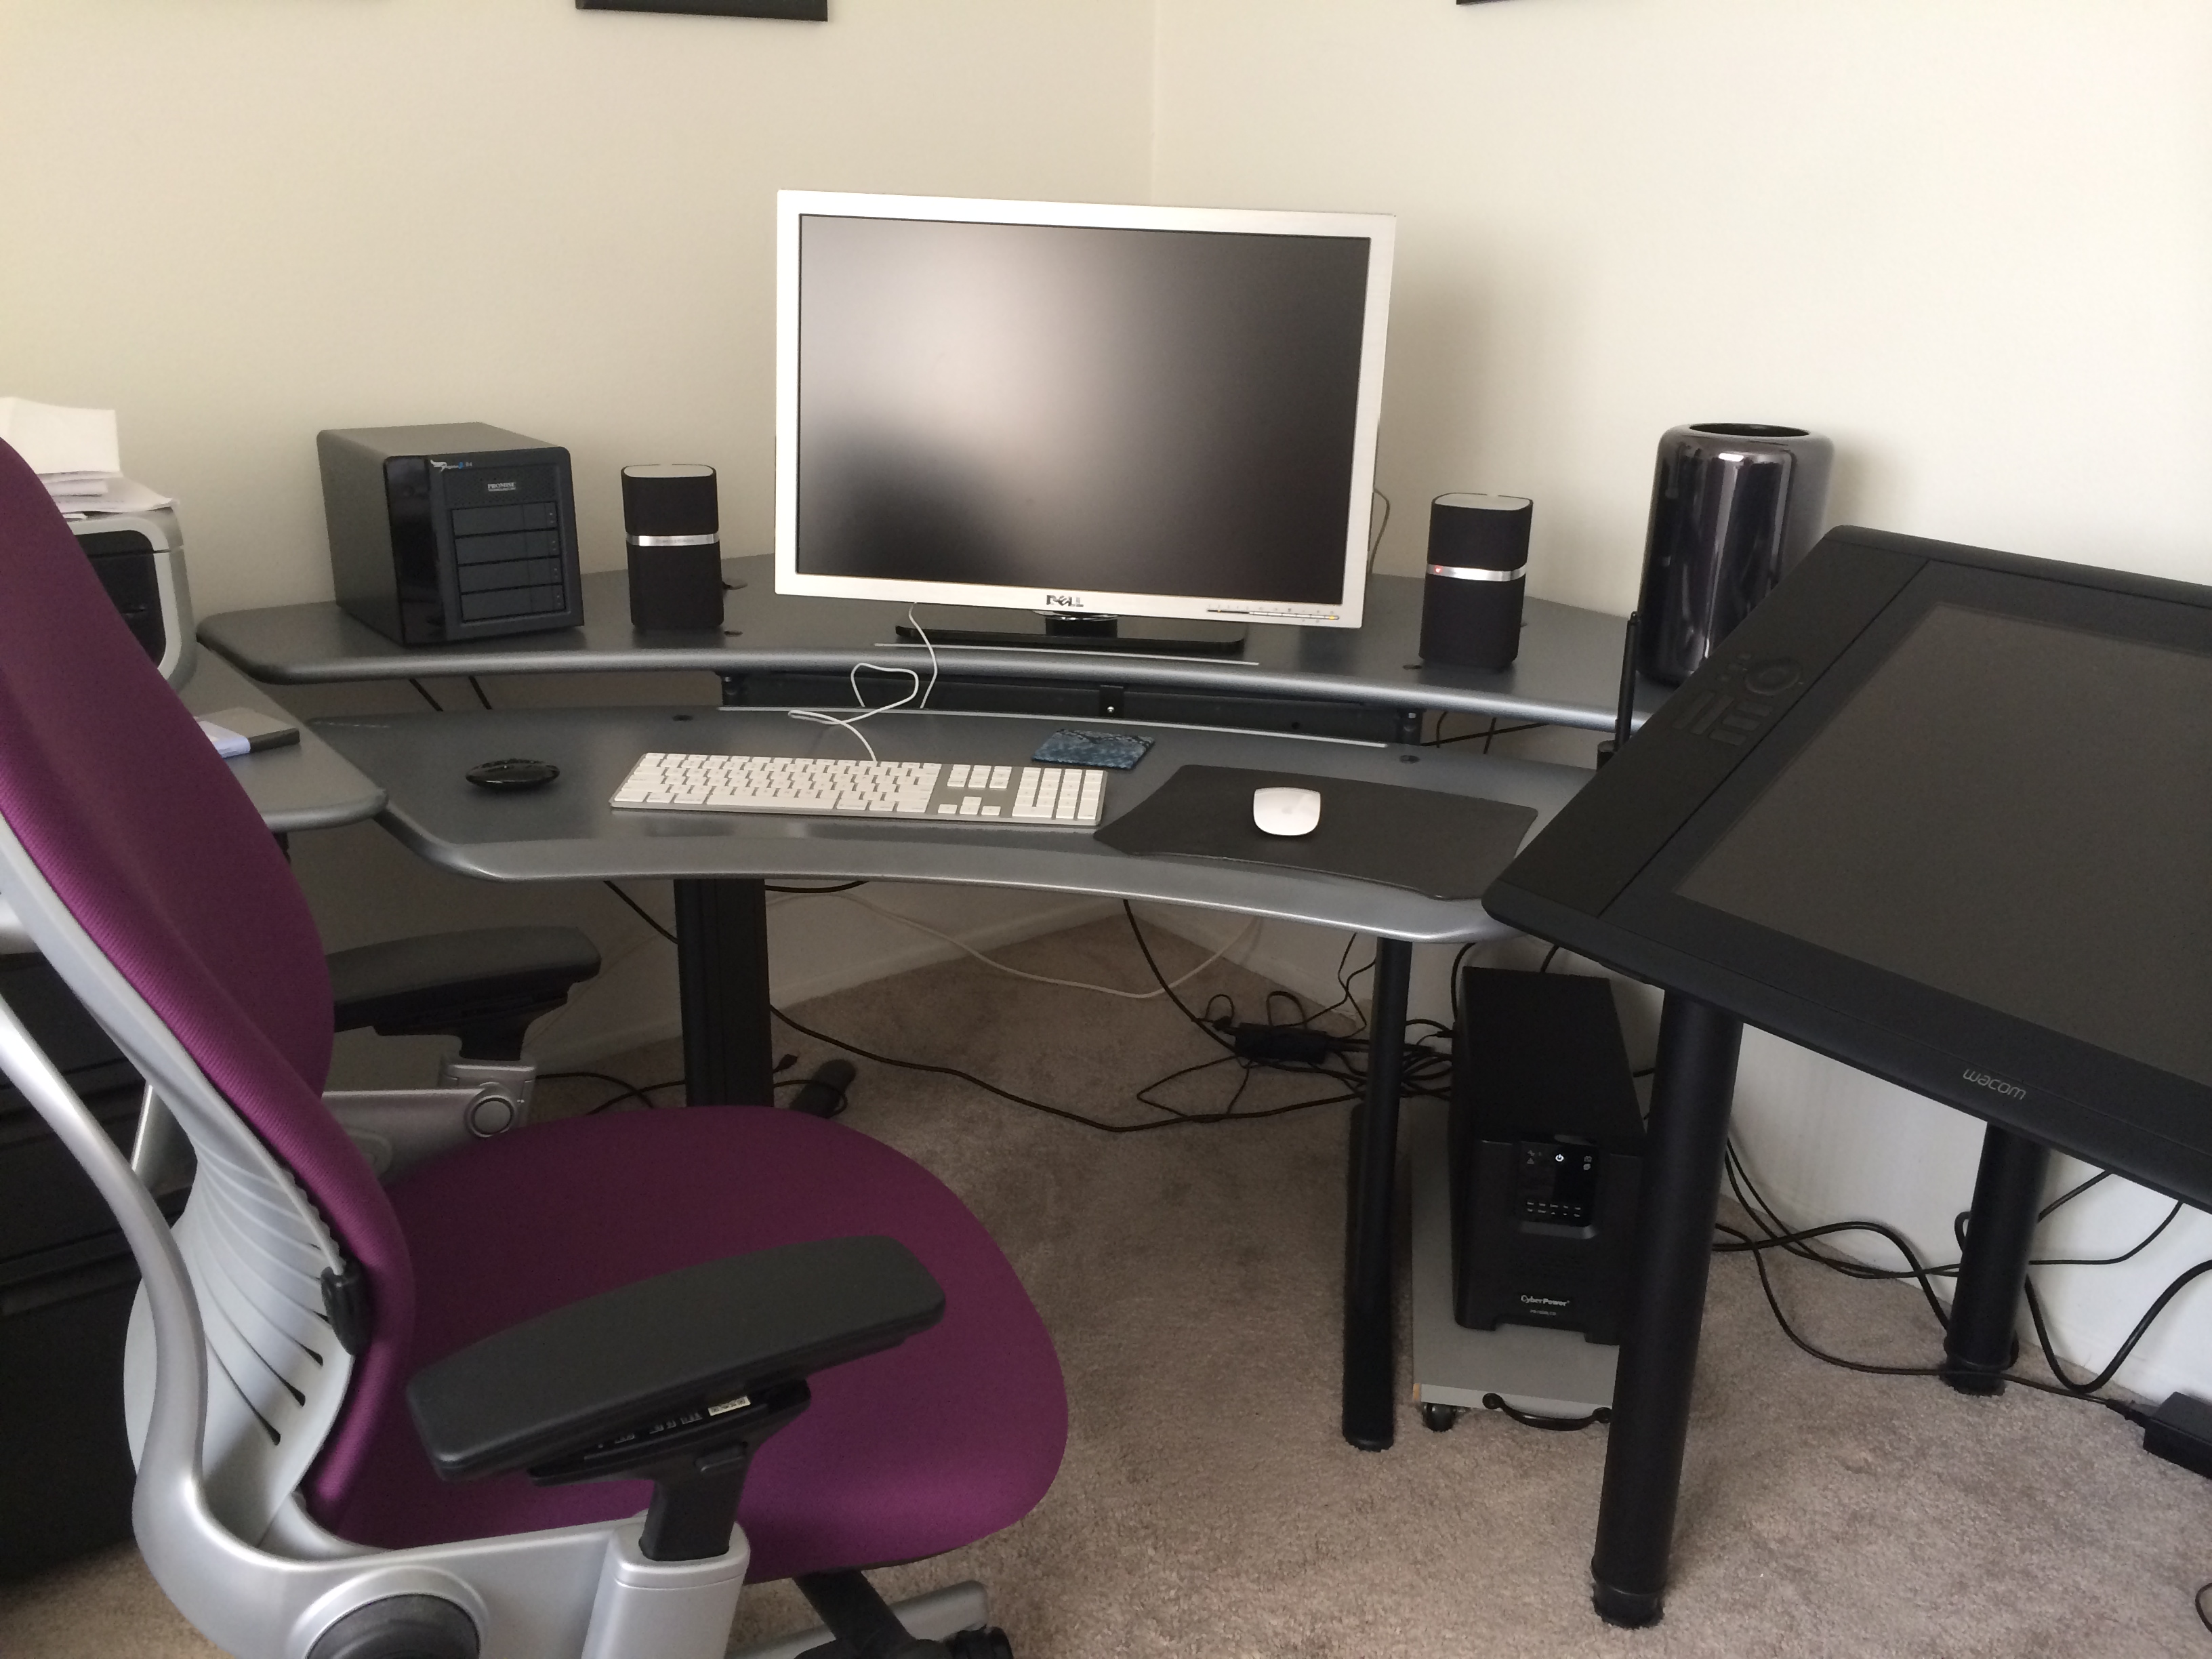
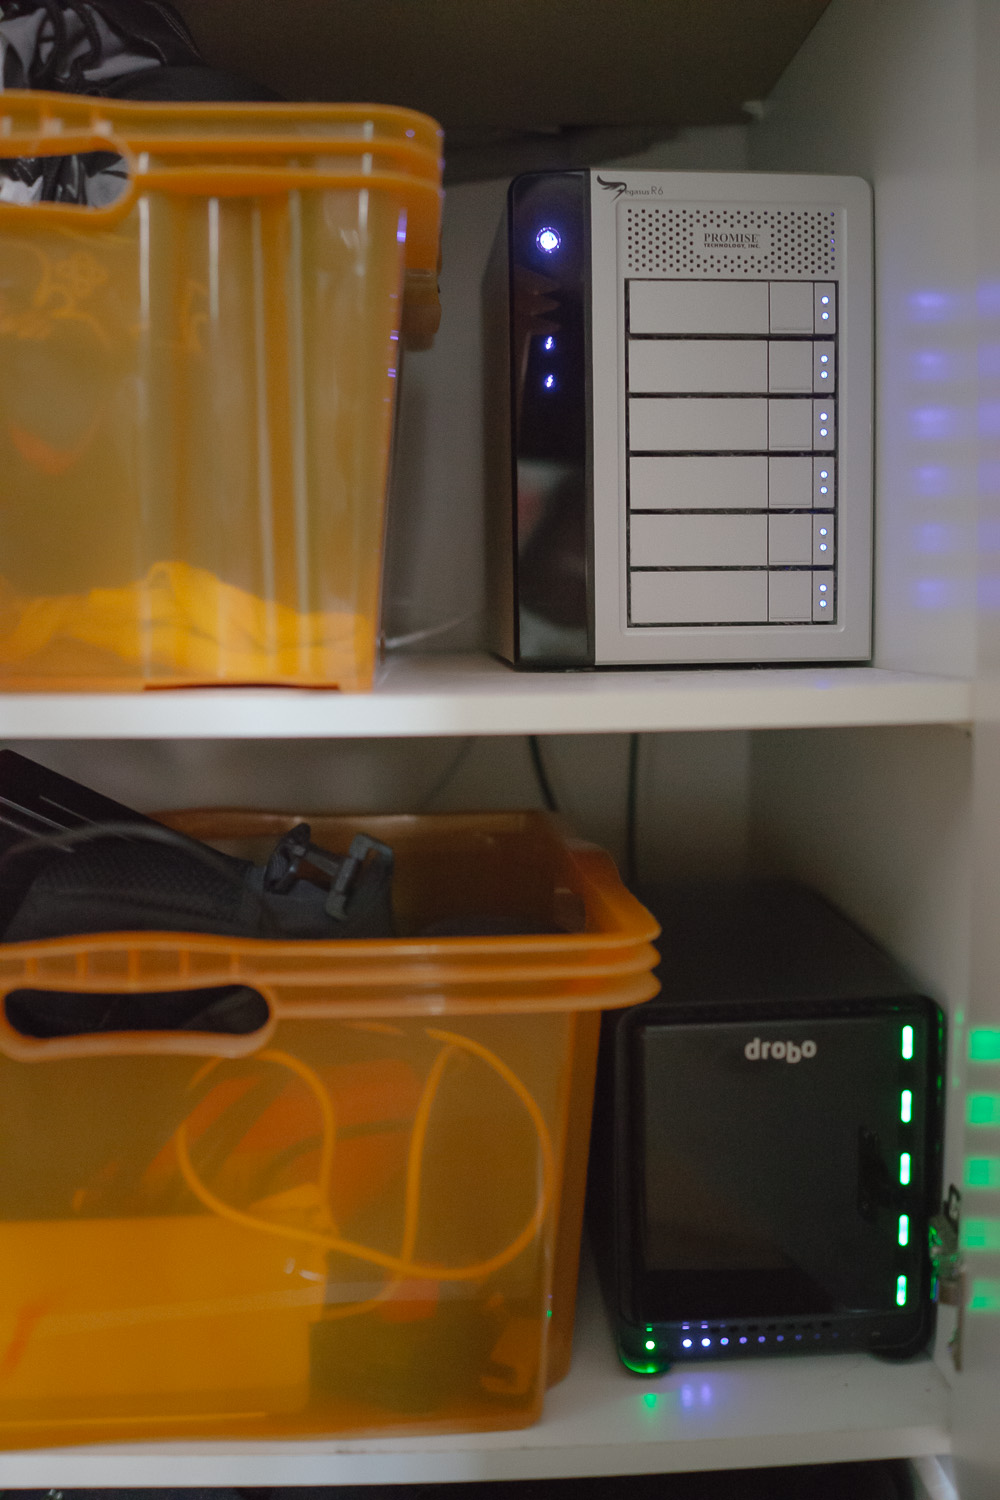
ディスプレイとMacProを隔離
クローゼットに収納している例。
pstrudl
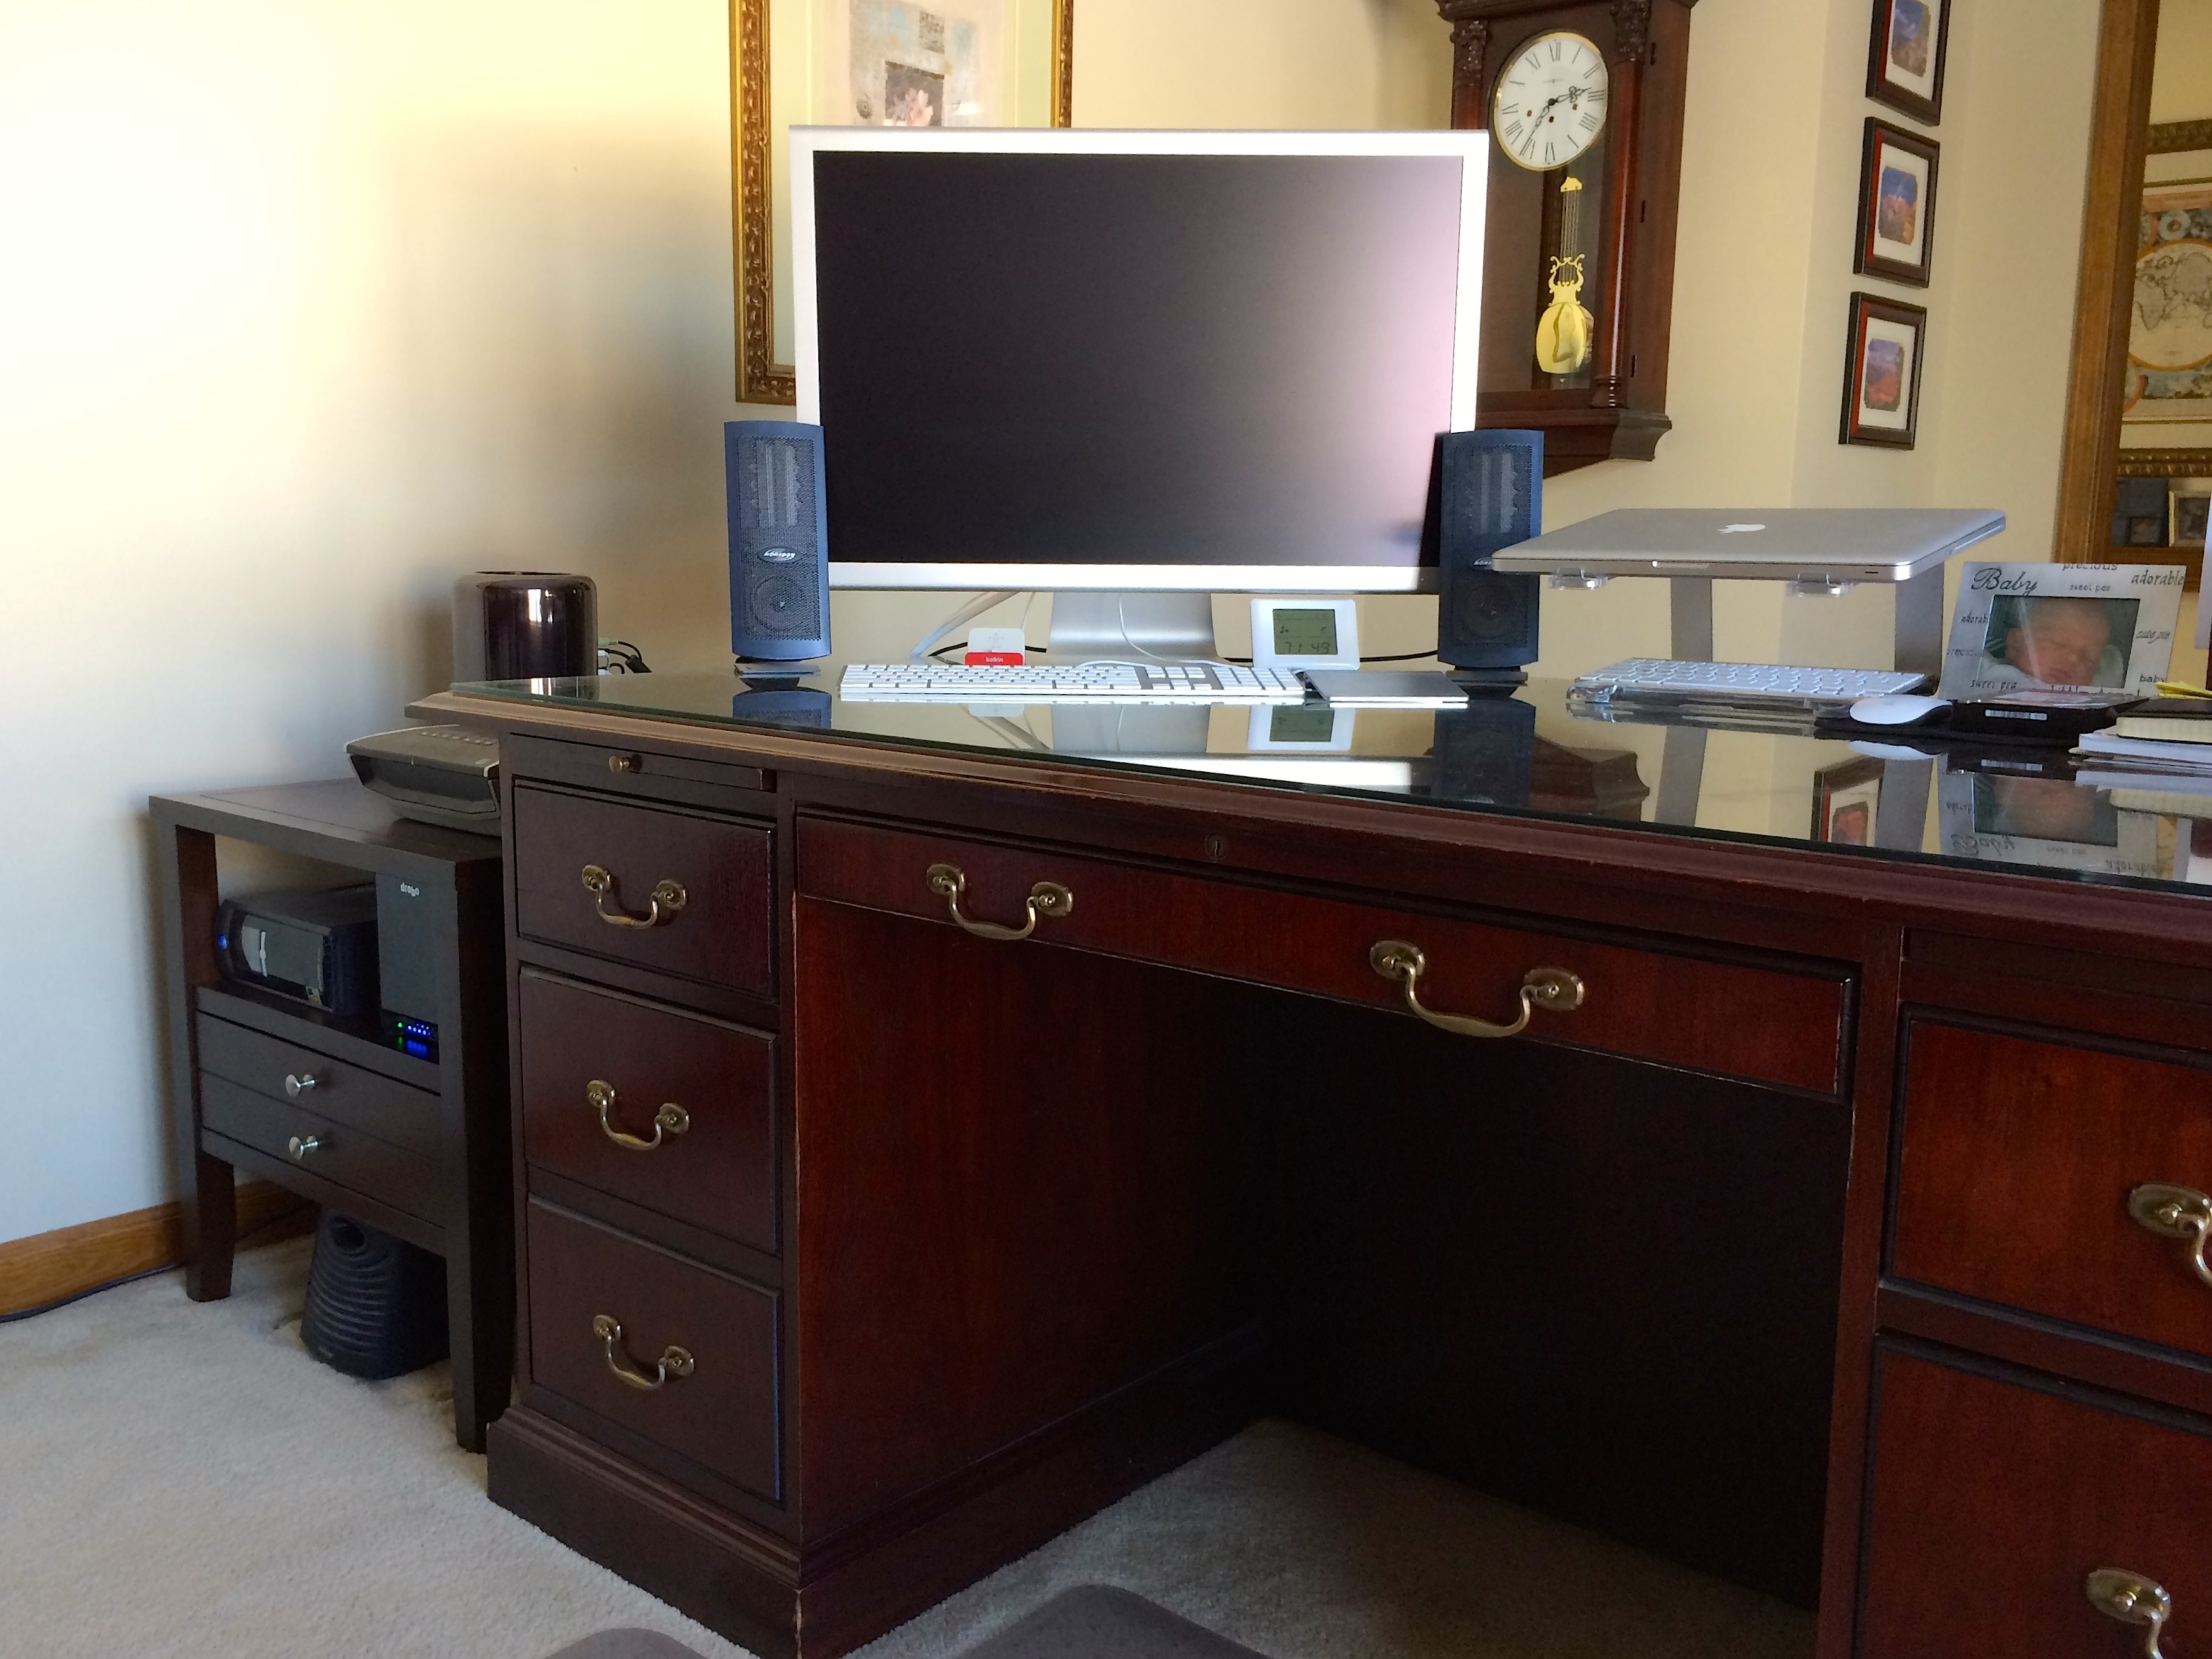
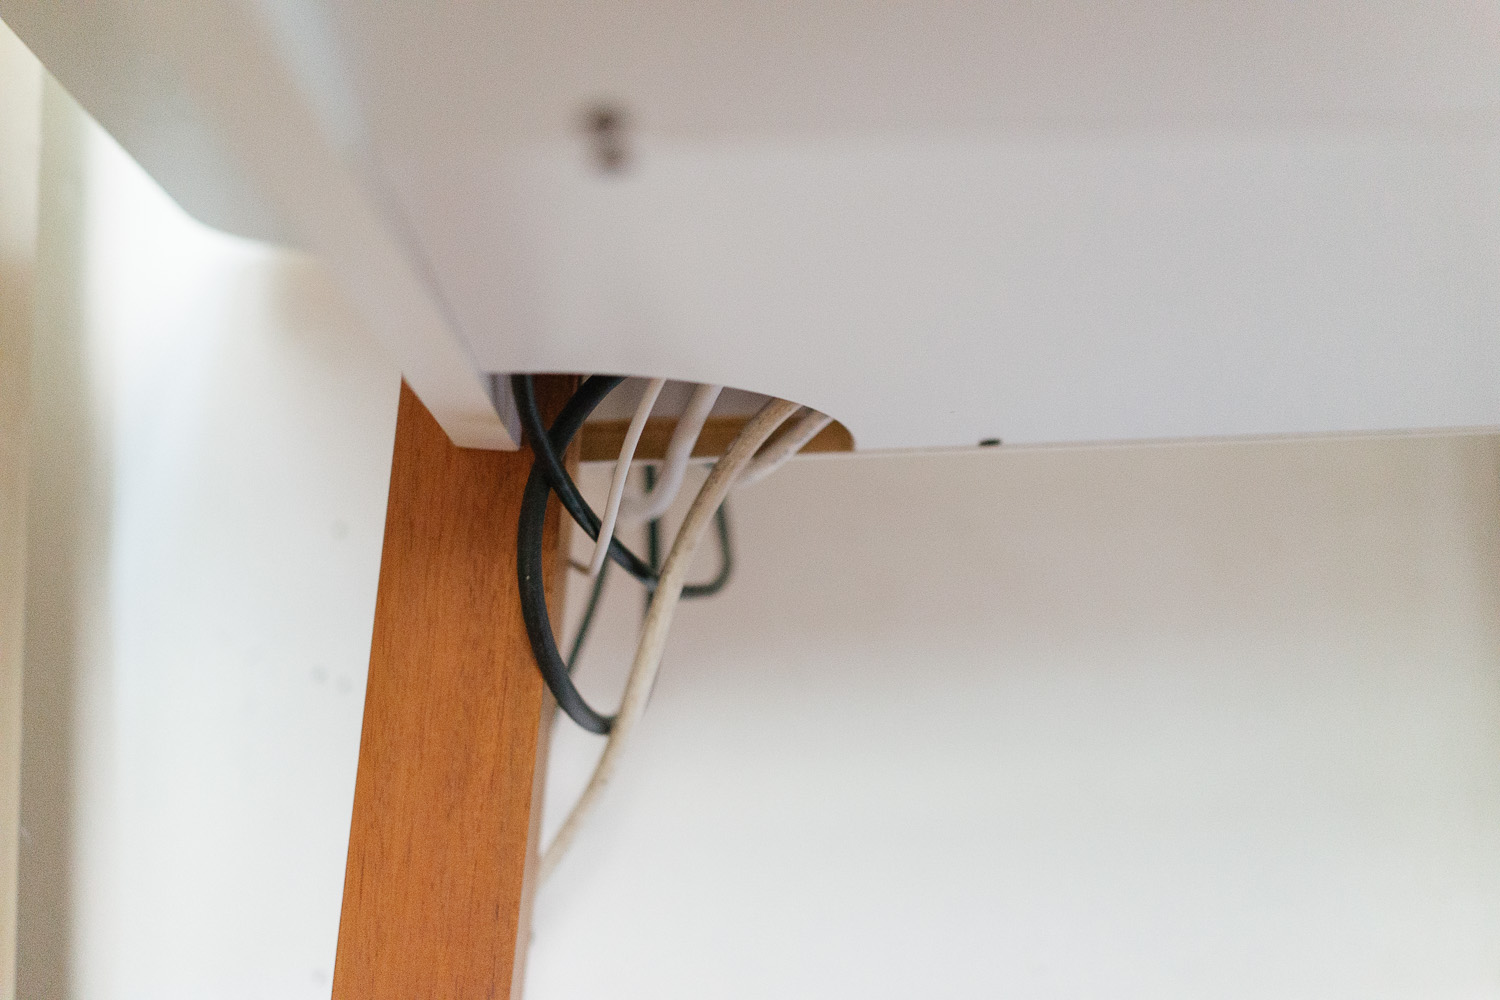
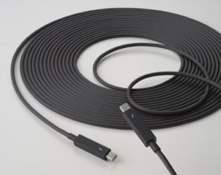
I had to use very long cables to put the new MacPro on the cabinet behind me. Aditional SSD and HDs are inside. No problems so far and absolutely quiet solution.[link]
(キャビネットの上から長いケーブルを使用しディスプレイと接続している例)
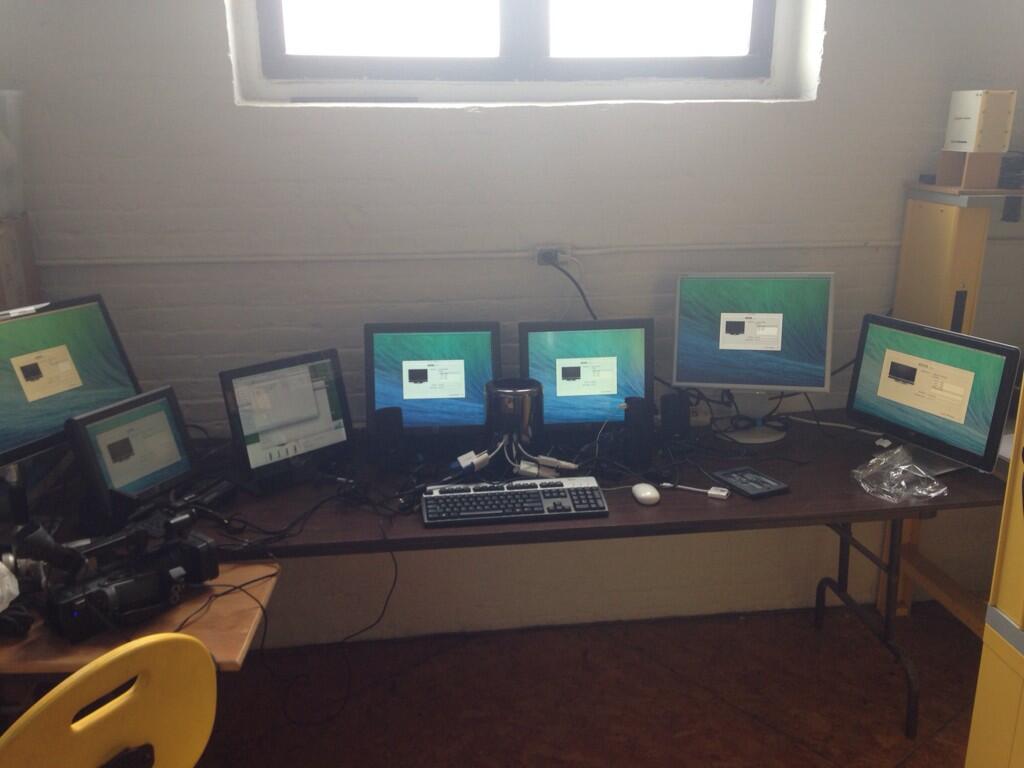
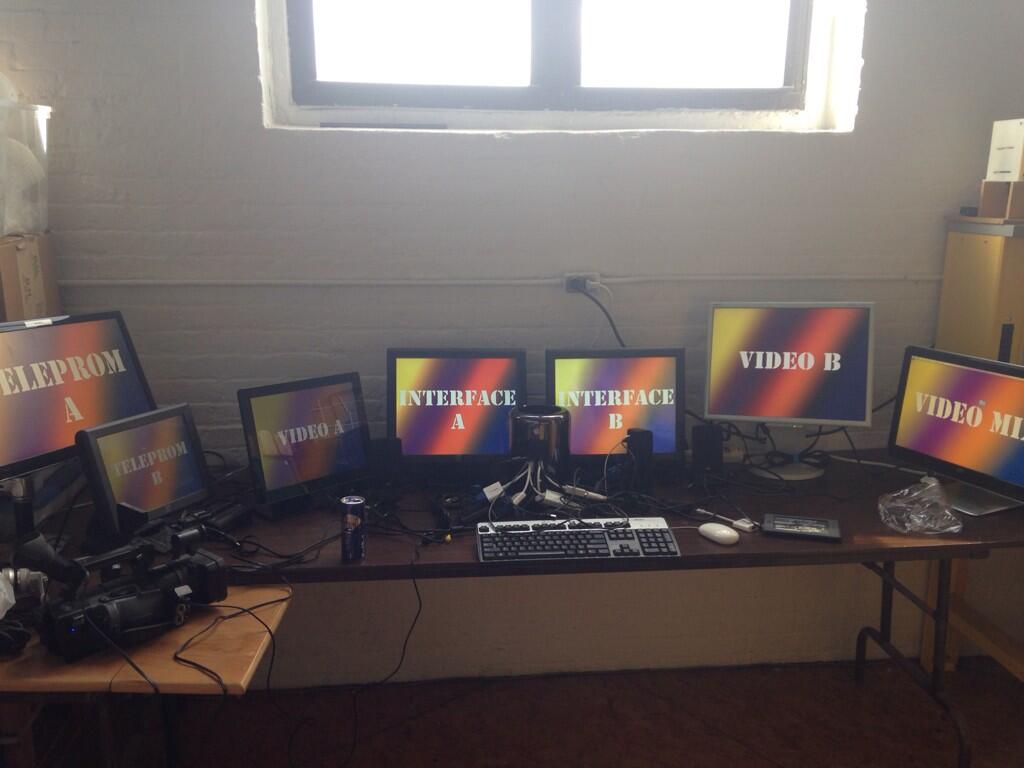
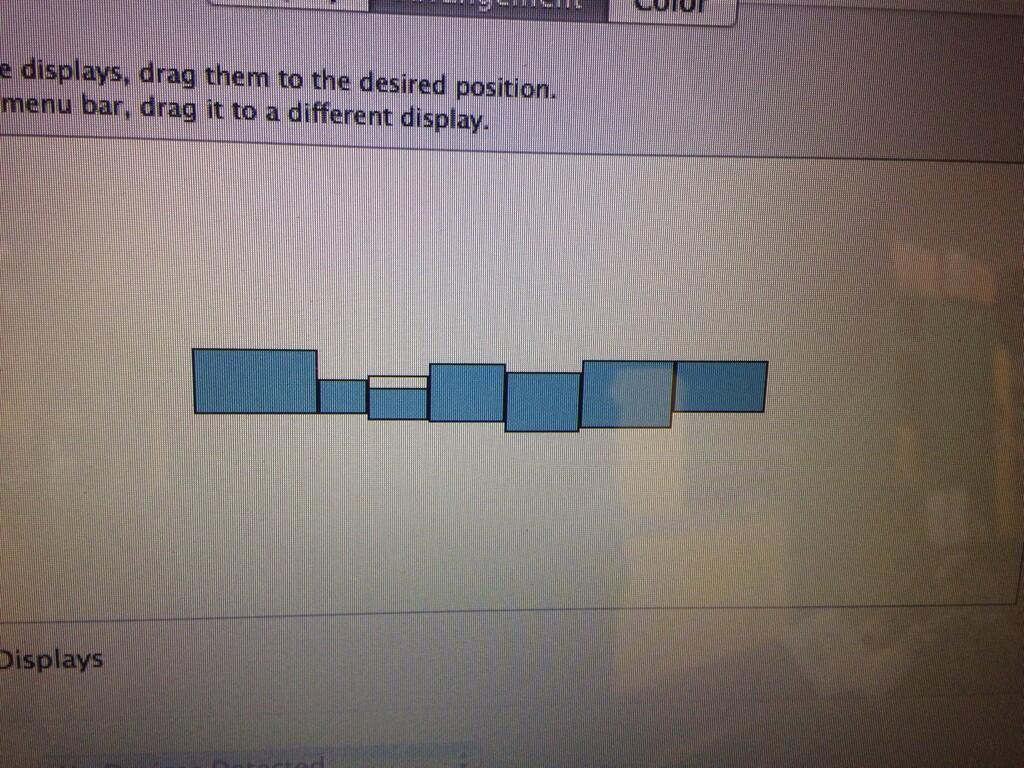
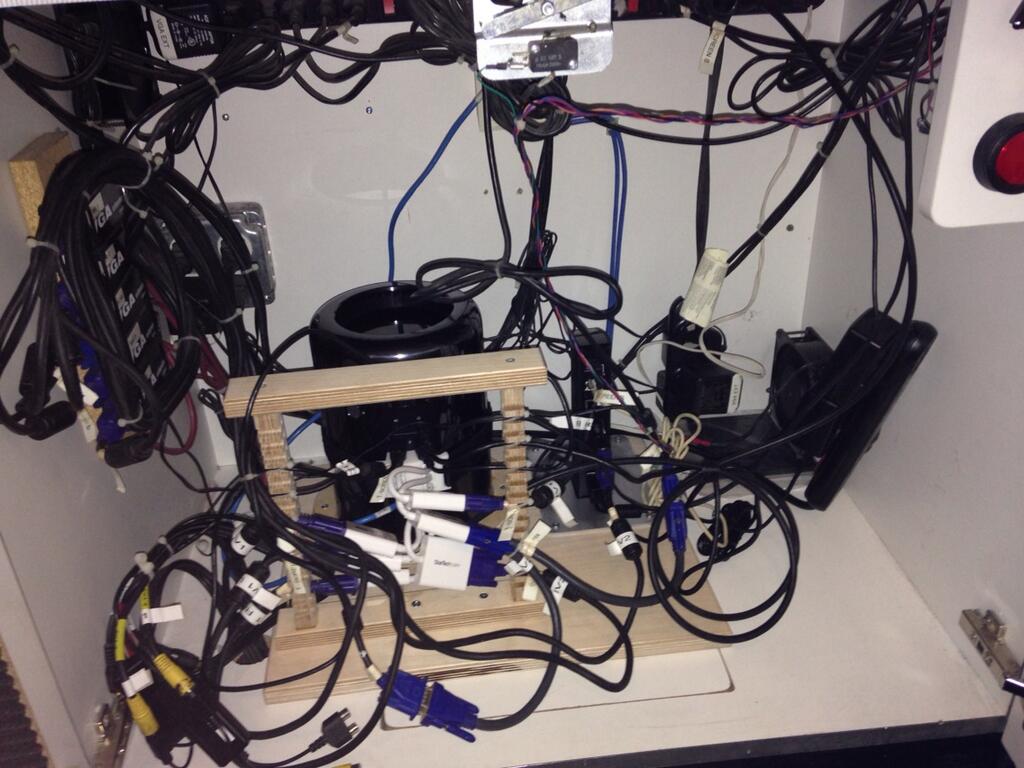
@wugmump
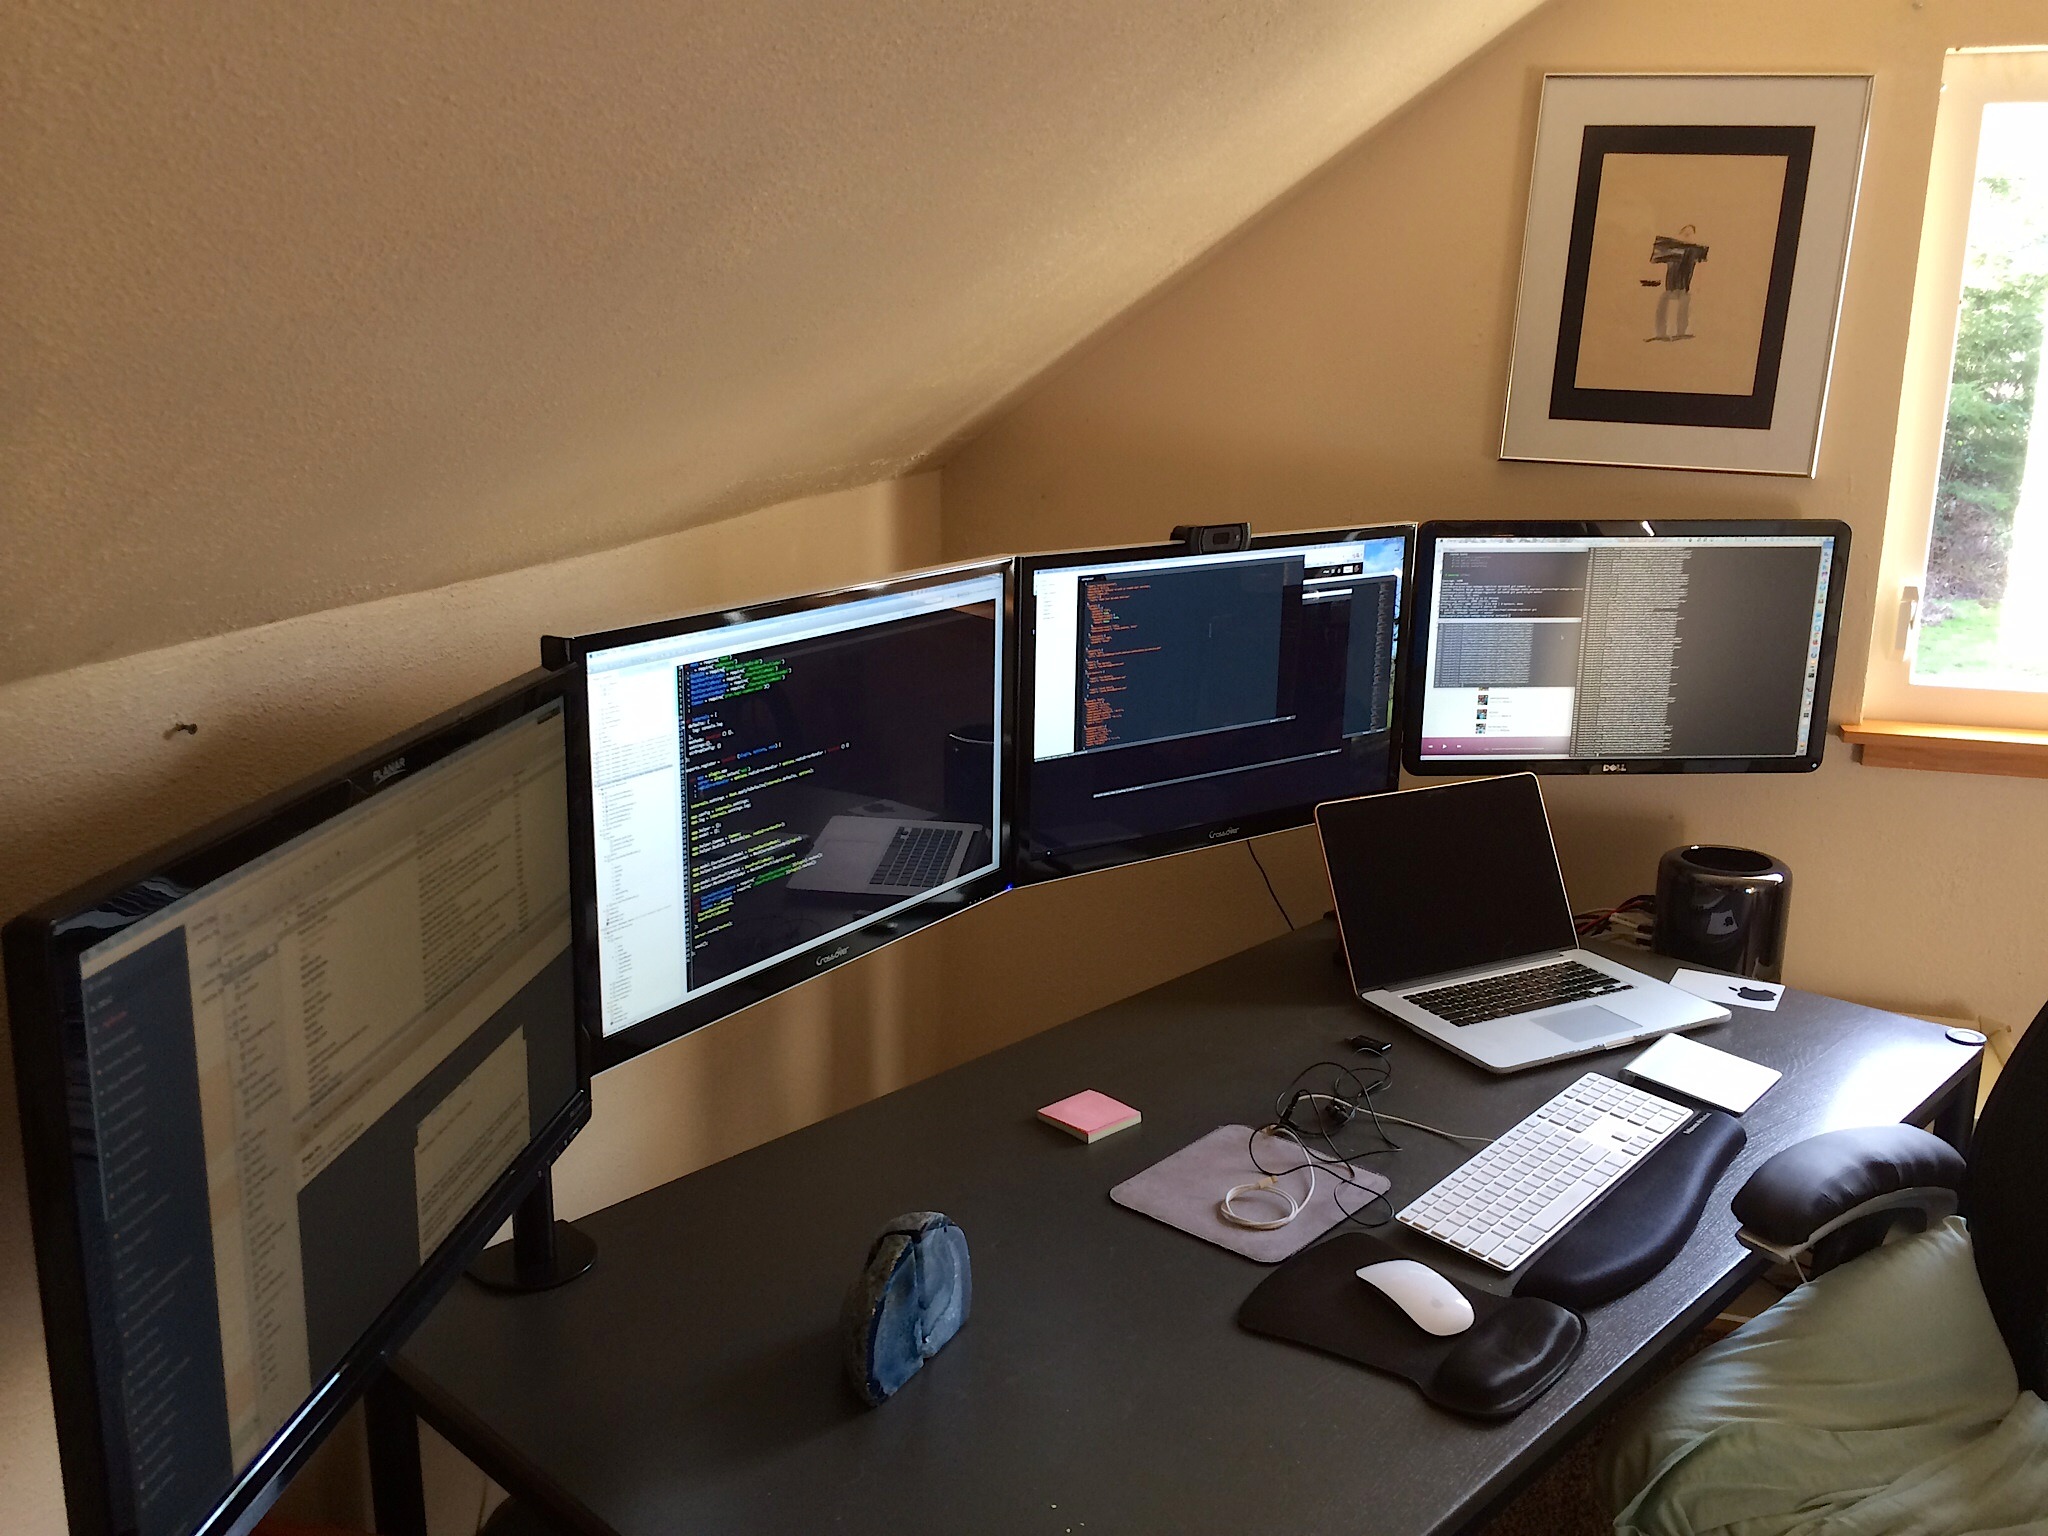
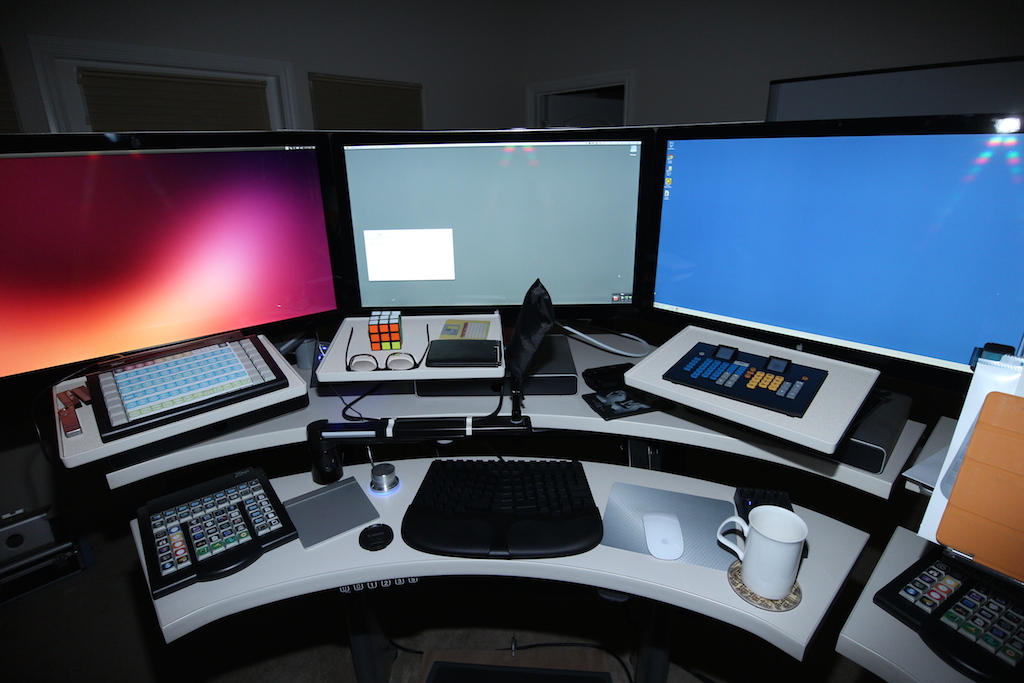
Final home of the Mac Pro. 7 vid out 2 vid and sound in, 5 VGA xtenders, serial control, touchscreens. [Twitter]
(MacPro Late2013で7台のマルチモニタに挑戦している人)

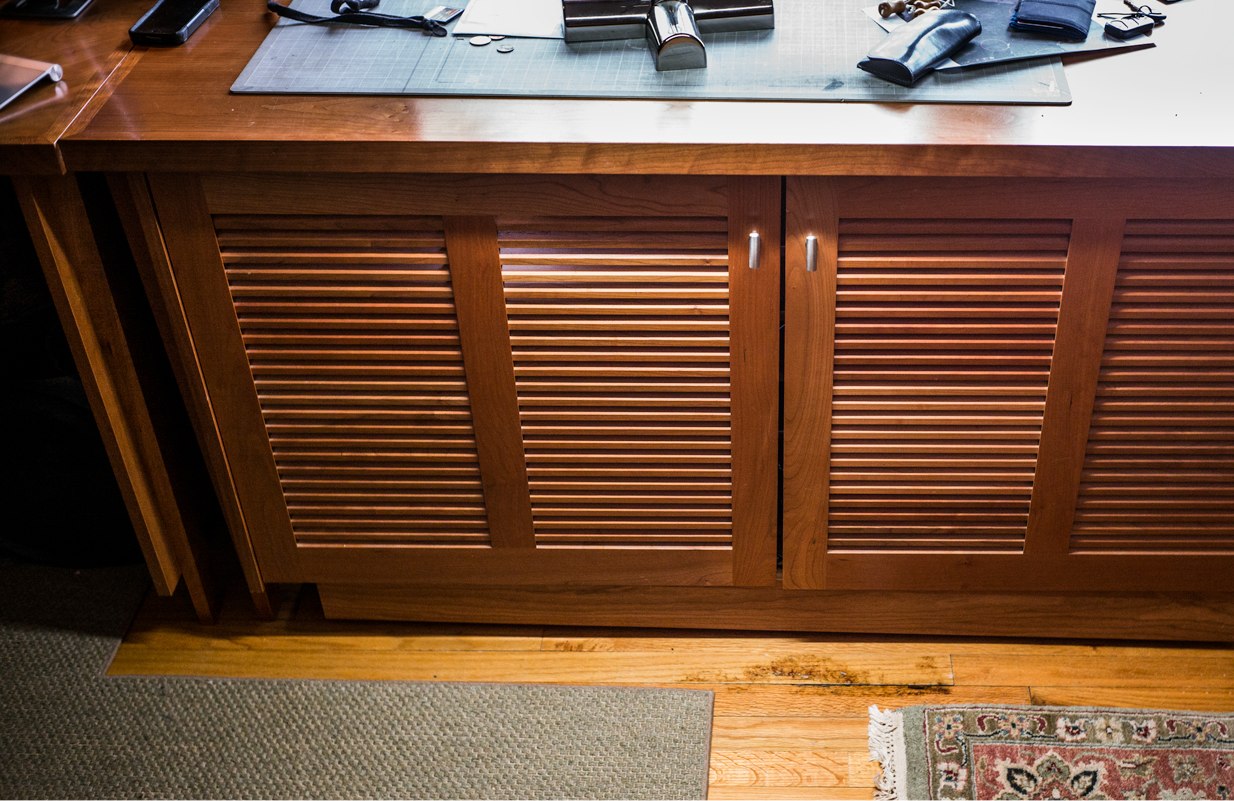
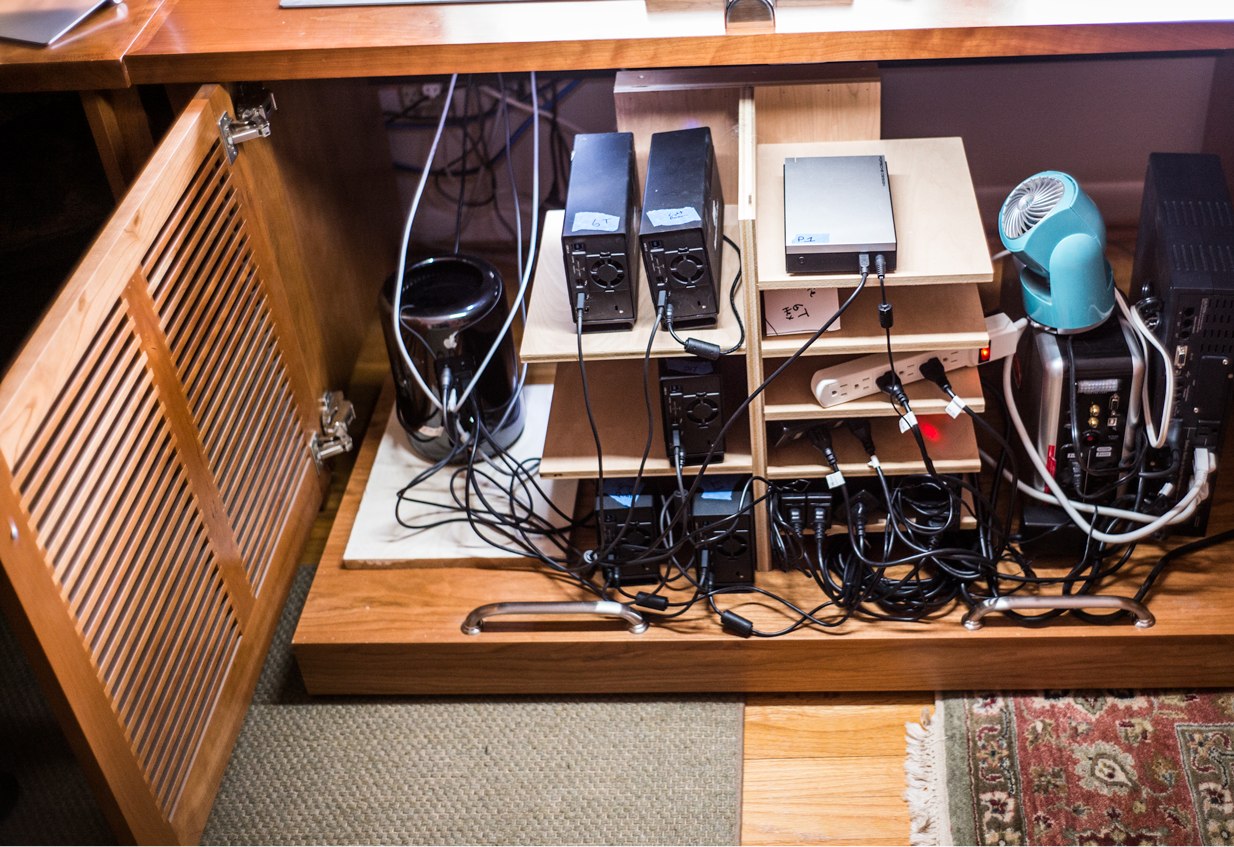
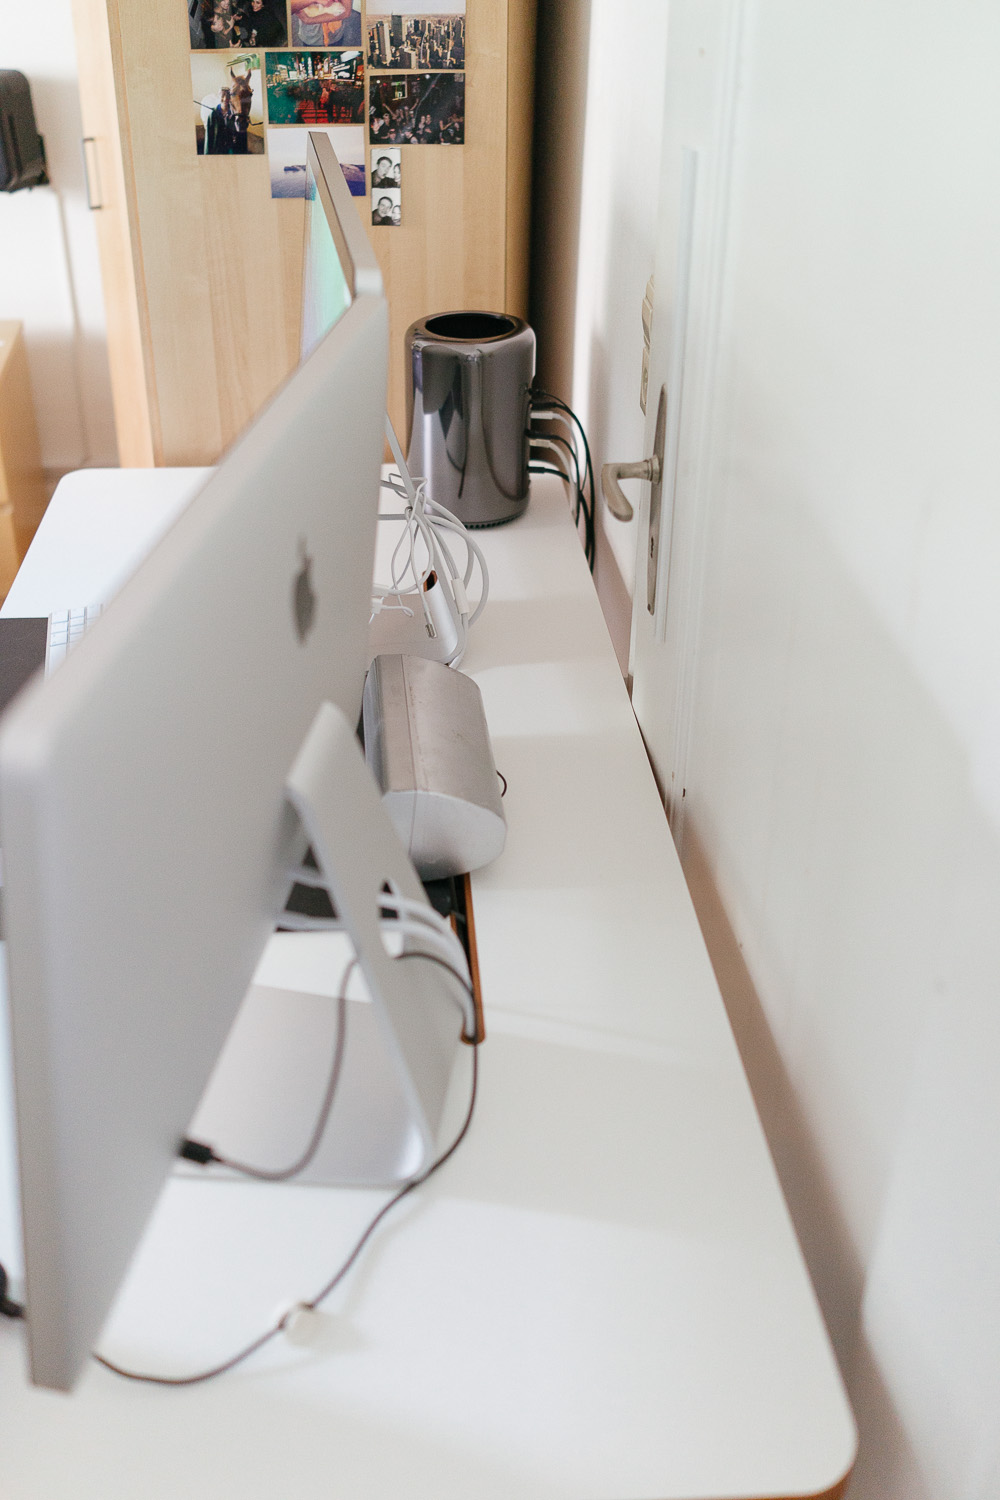
chfilm
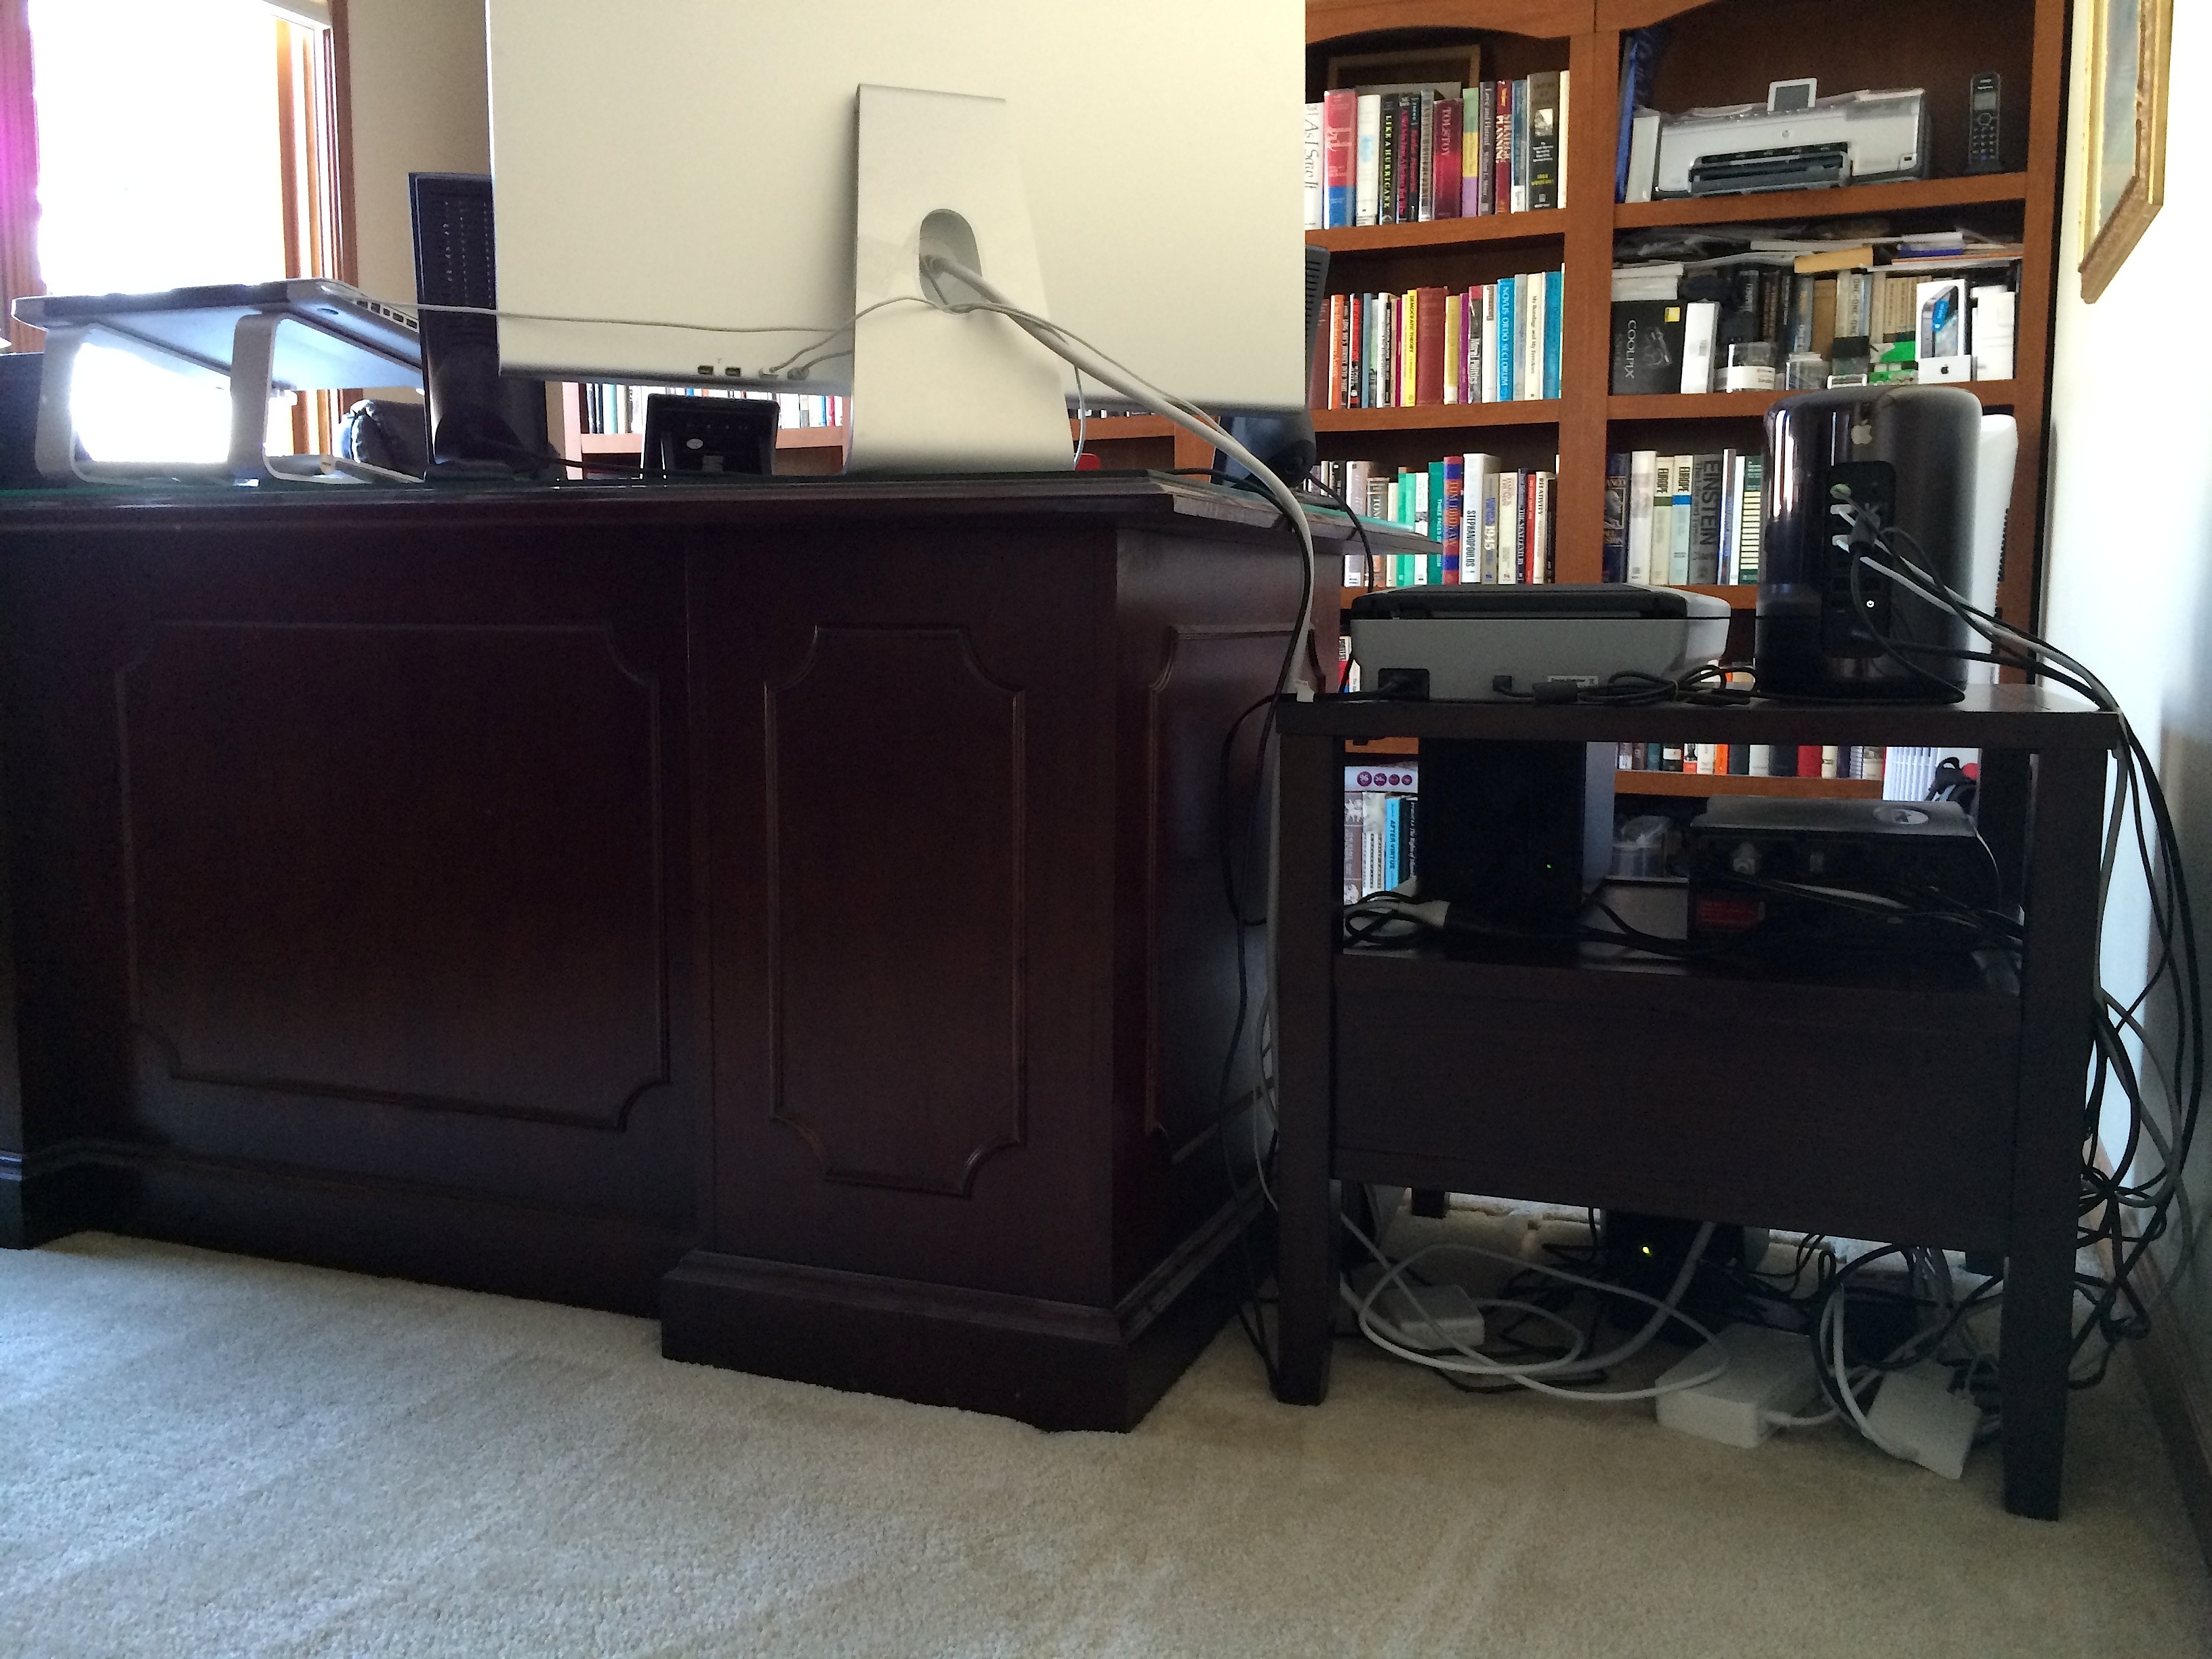
I have the raids stored away in a cabinet and the usb hard drives hidden inside the desk. It can be opened up on the top and all the cables go in through a little slit as you might be able to see on one of the pictures.
The Mac Pro cables go behind the back of the desk, and then inside it through a whole on the bottom, or directly to the raids, led on the backside of the table’s leg. From inside the desk, I distribute them to a usb 3 hub, to the hdds, and to the TB displays. [link]
(ディスクのみキャビネットに収納)
この他にもMacRumorsのForumには多数のセットアップ画像が投稿されているので、見たい方は関連リンクへどうぞ。
関連リンク:
・Post your New Mac Pro Setups.
・Your nMP Setups

コメント
最後のやつ配線ヤバいなw
うらやましー
見ていて楽しいね。
部屋きれいにしてるなぁ…
かっこええ
参考になりました。